What it does.
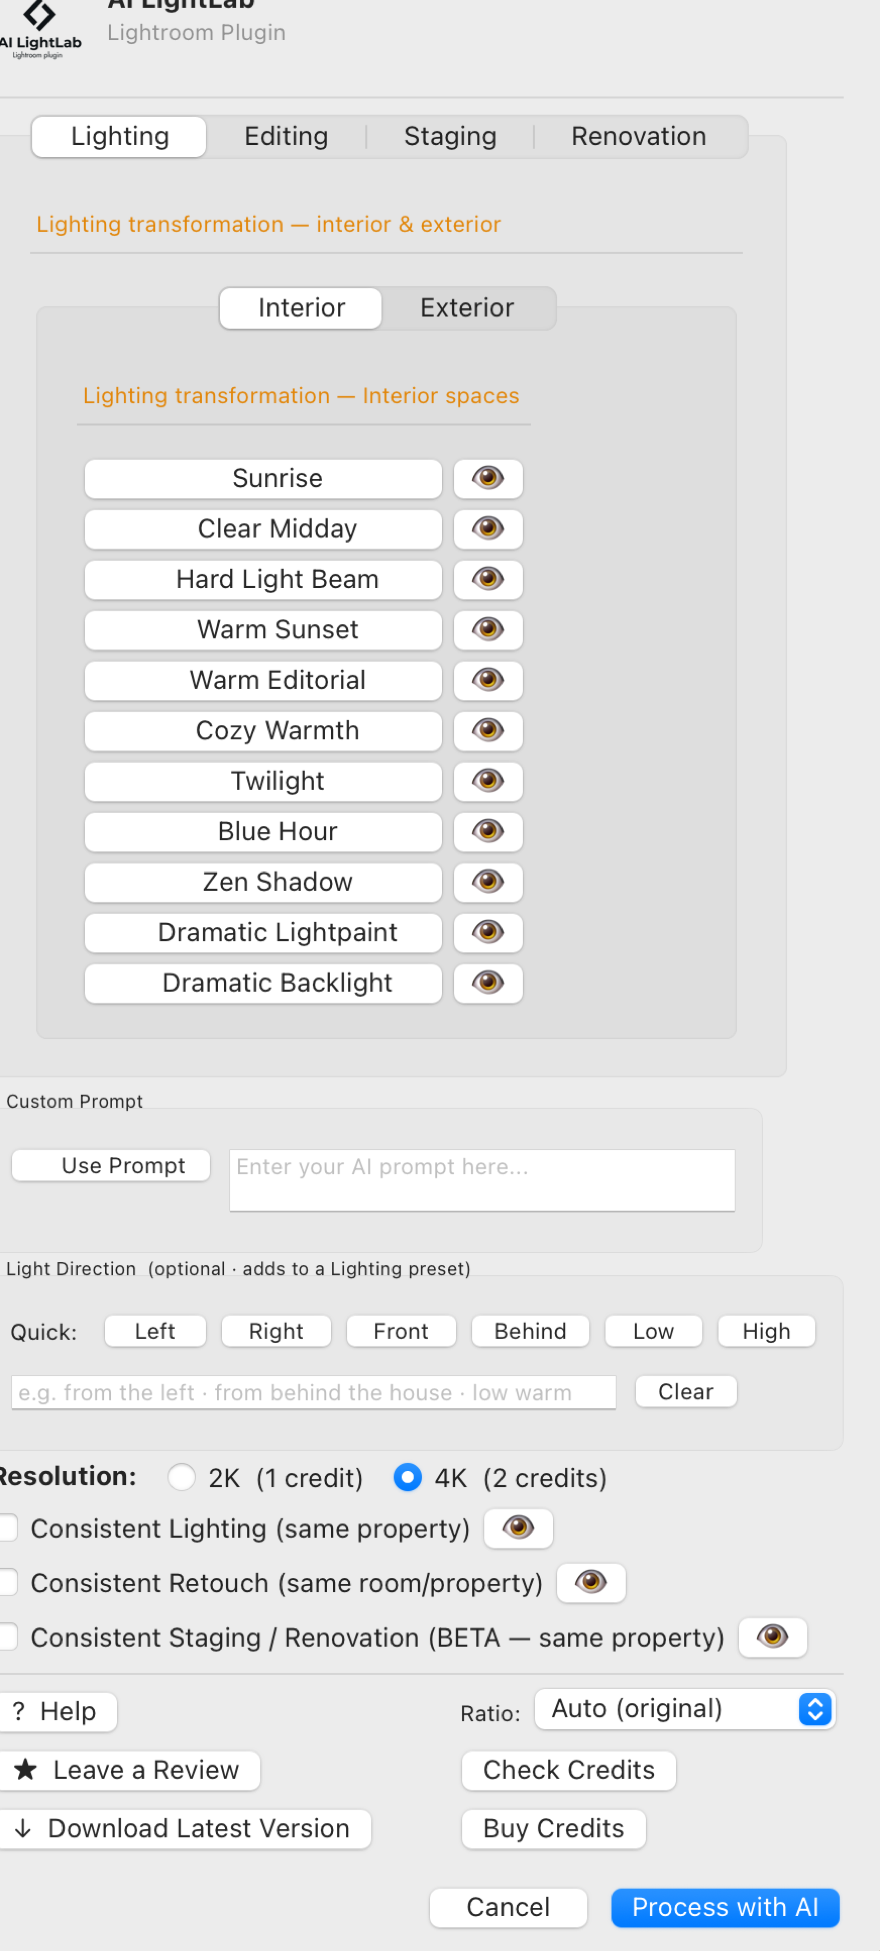
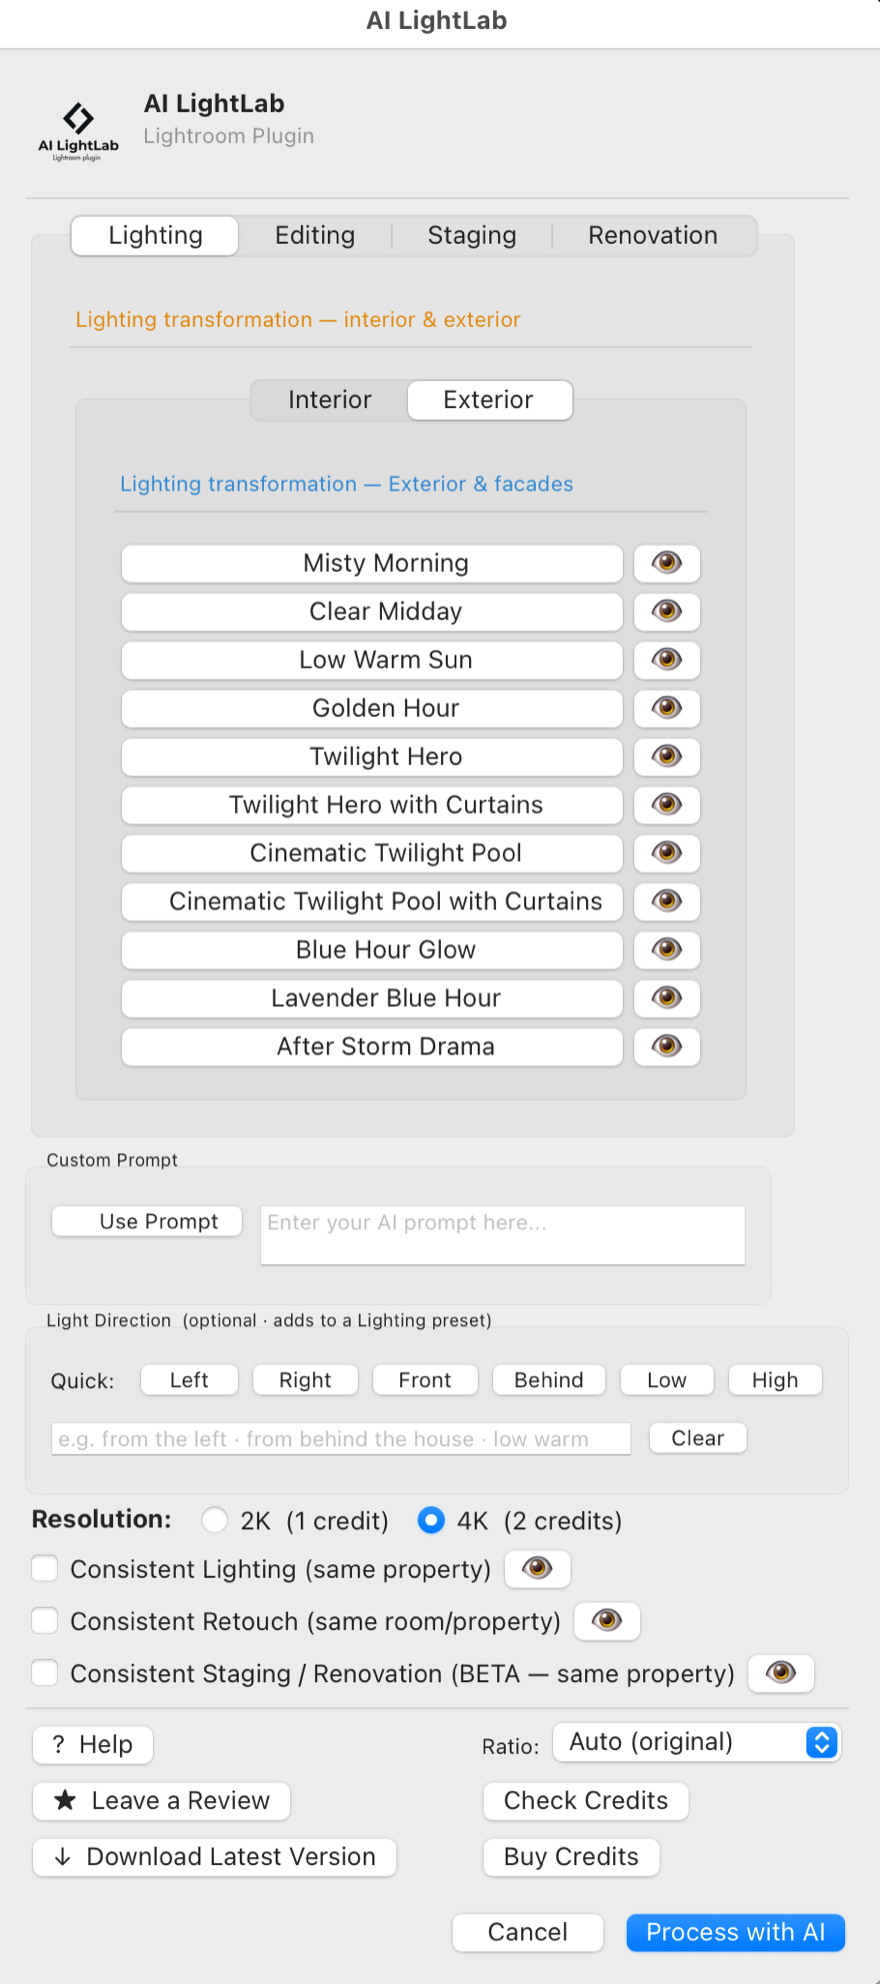
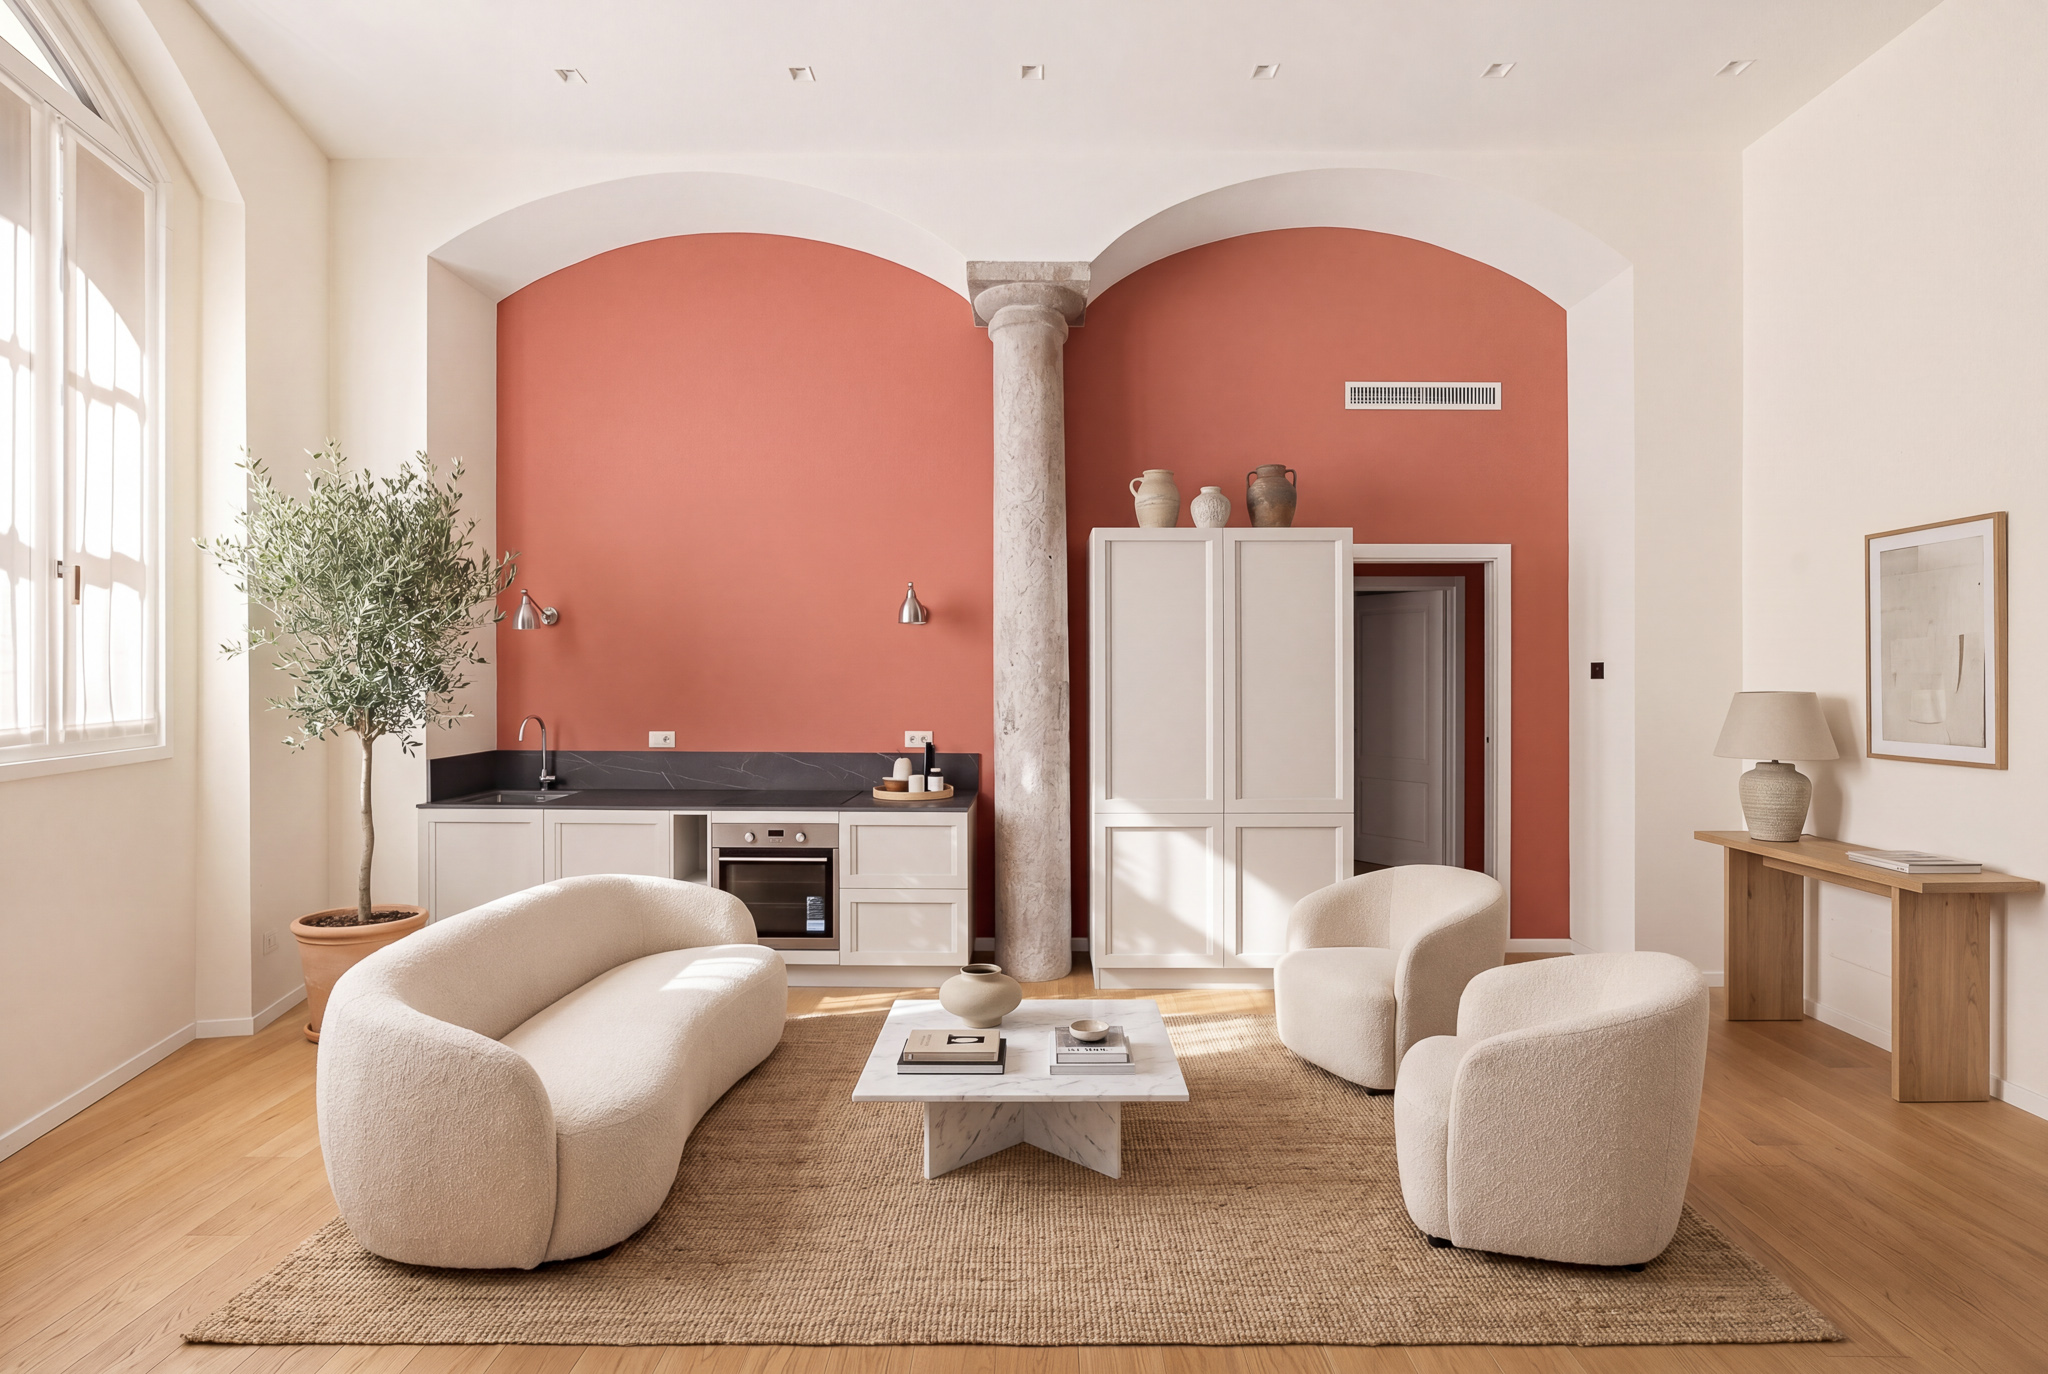
The tool every property photographer has always wanted — finally inside Lightroom. Control the light on any shot, empty a house in a click, fix the weather after the shoot is over. Select multiple presets at once and the AI generates every version automatically. Or write a custom prompt for total creative control.
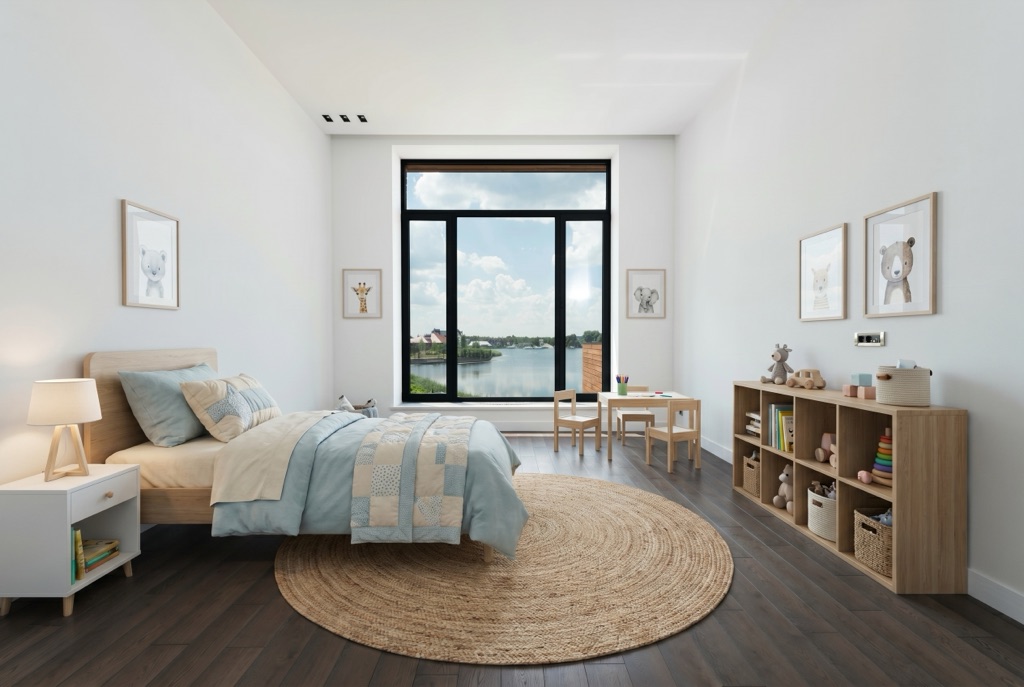
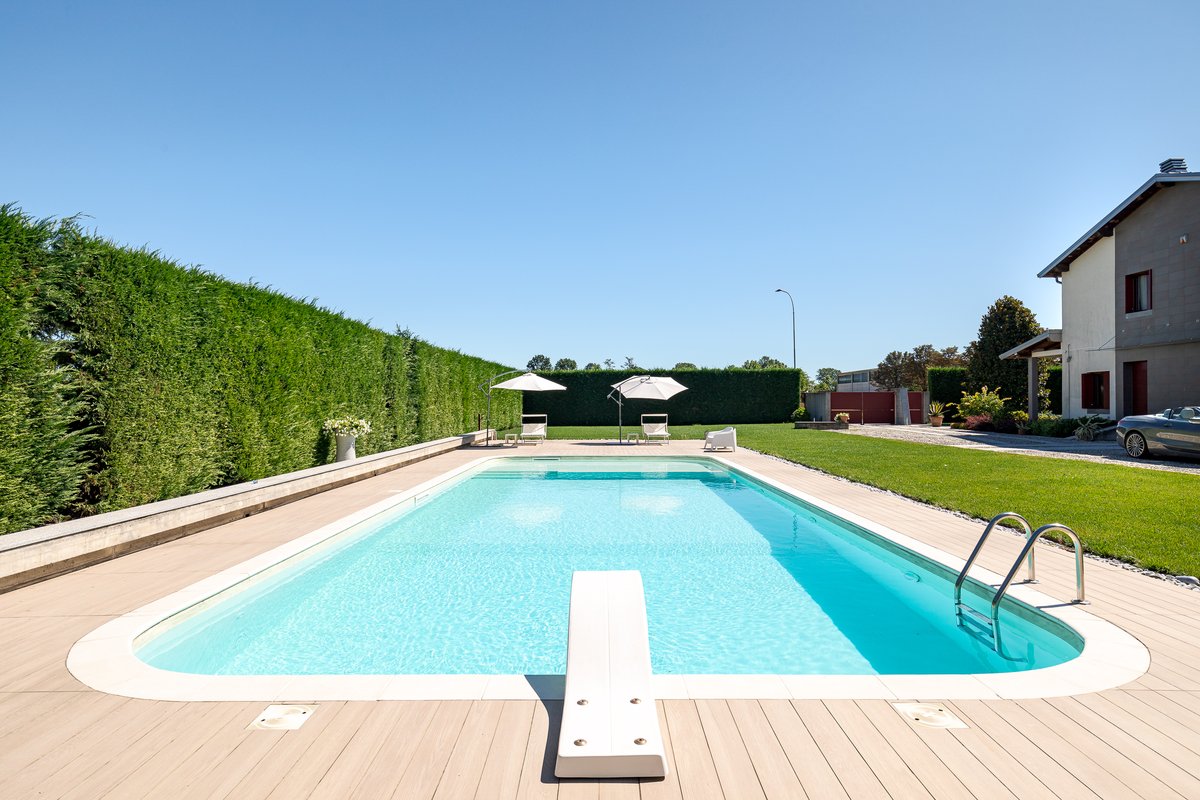
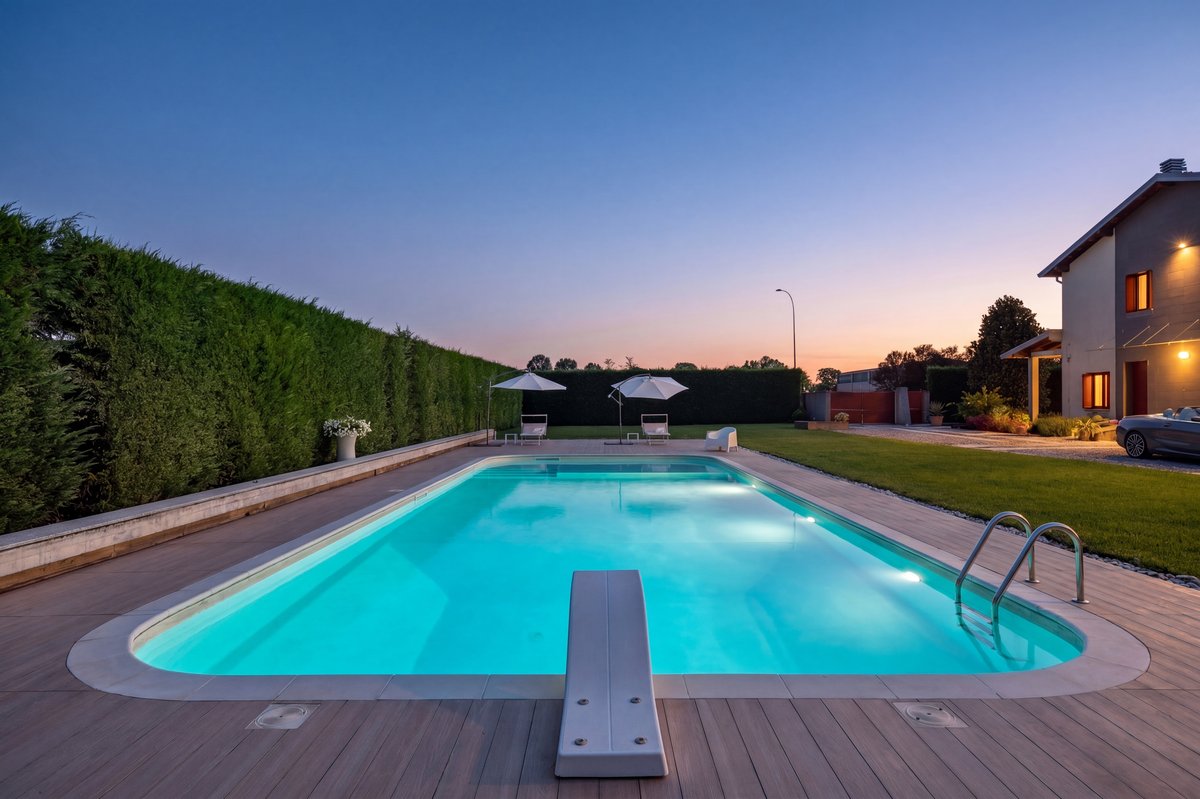
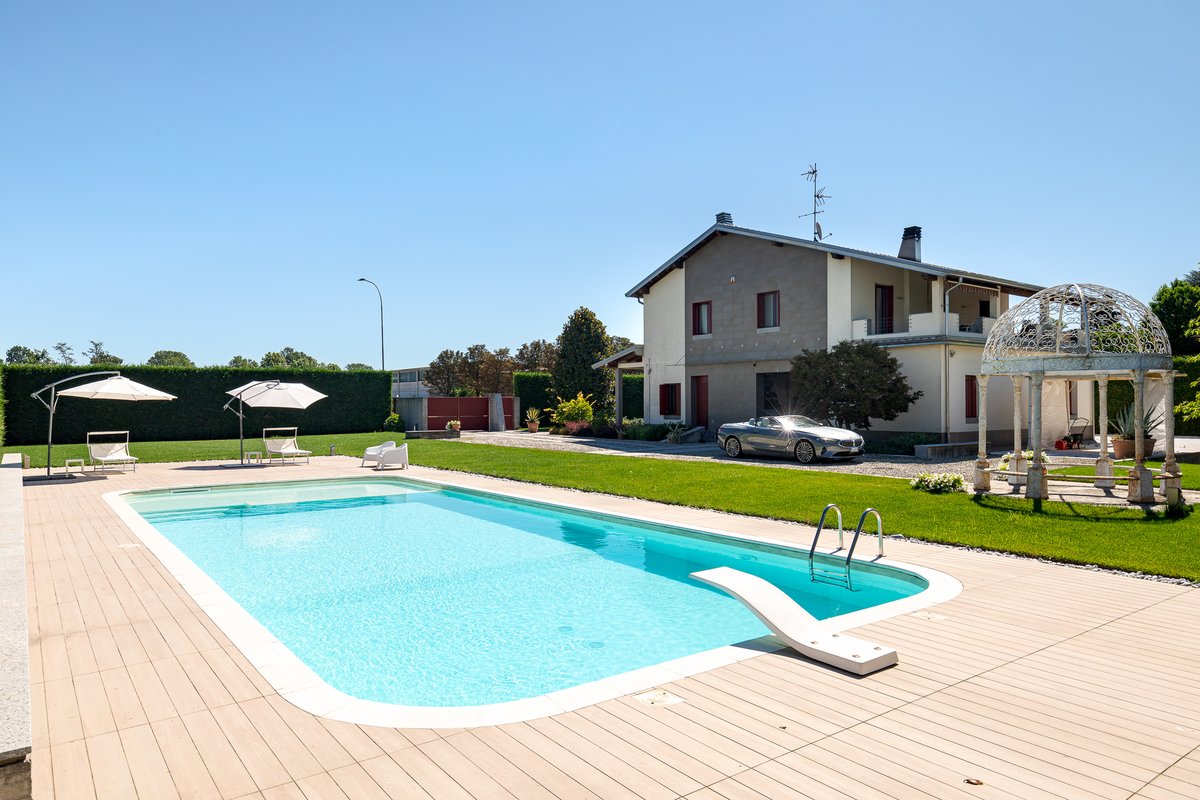
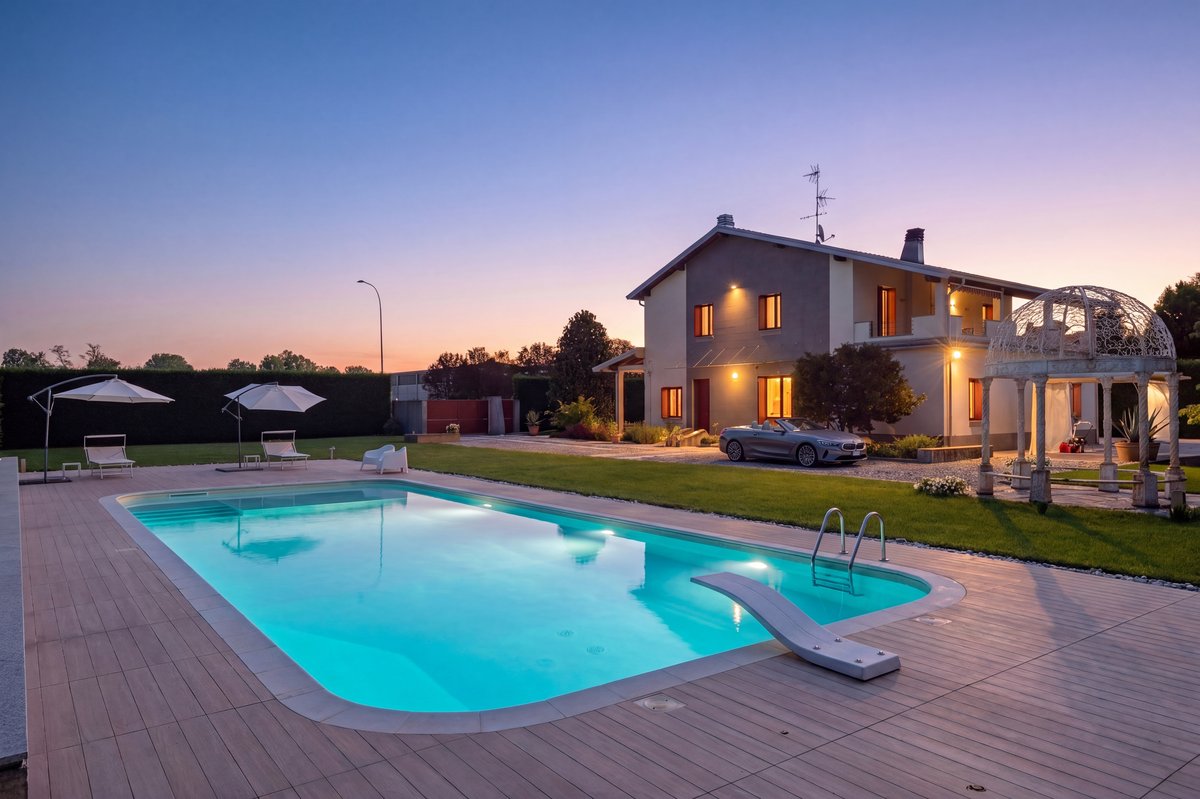
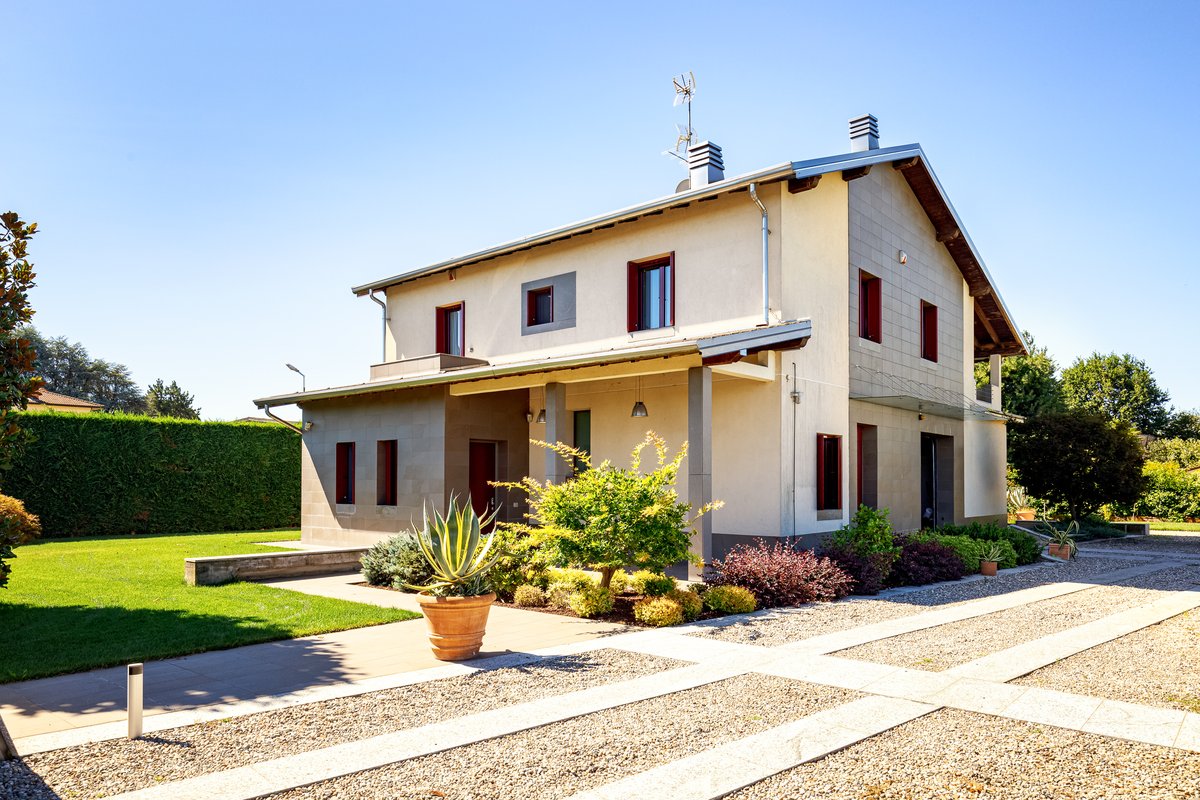
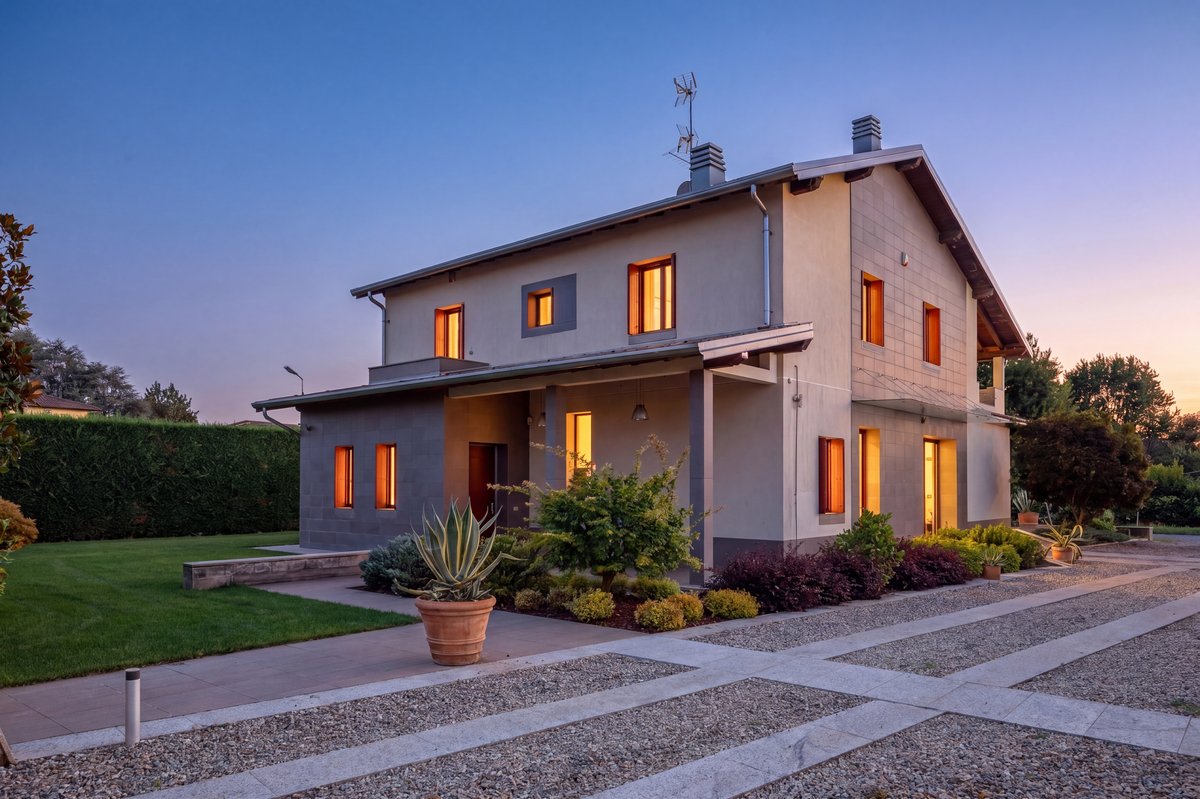
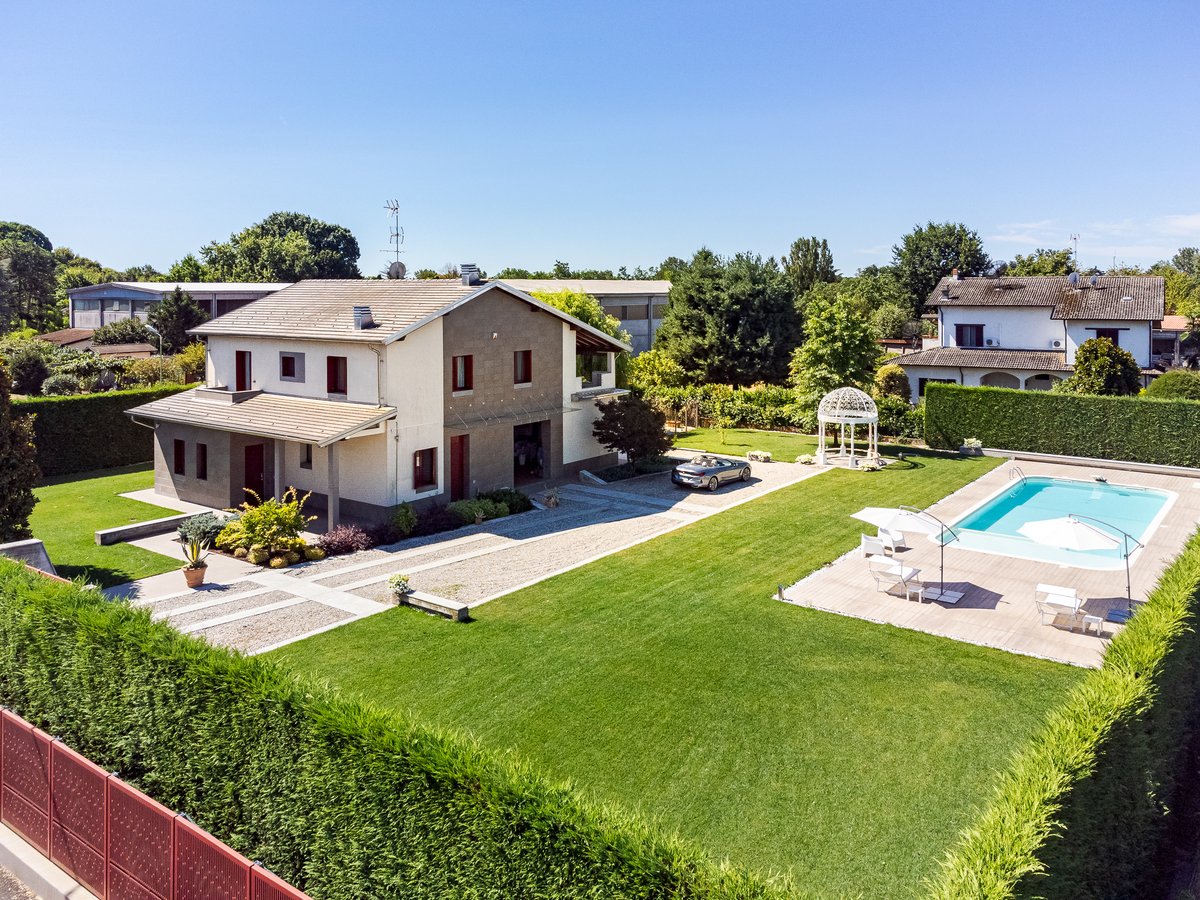
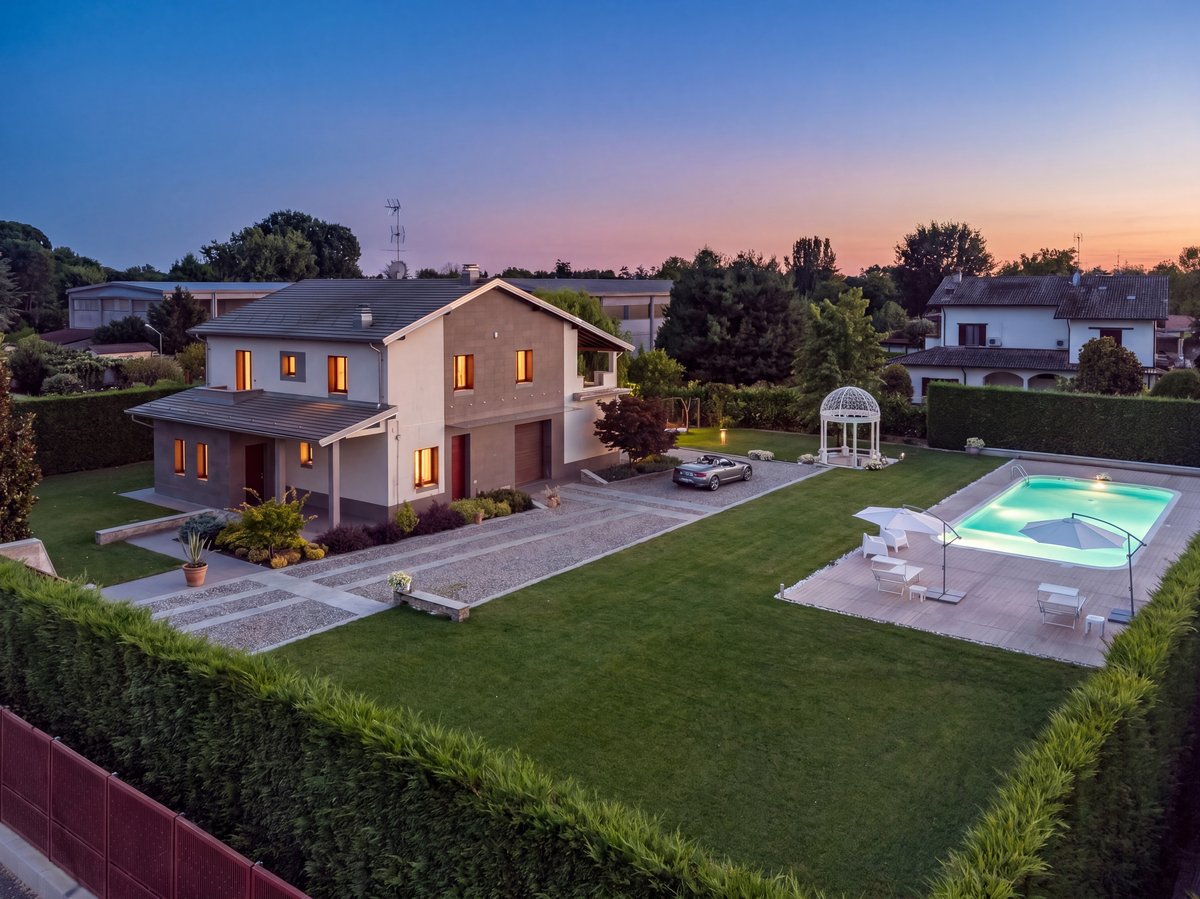
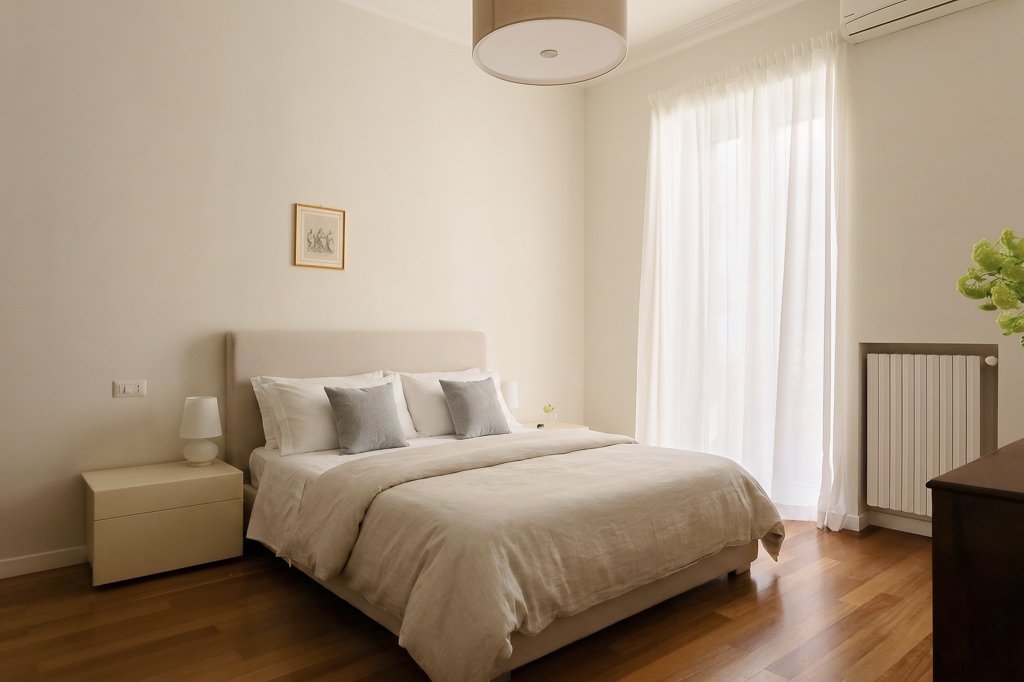
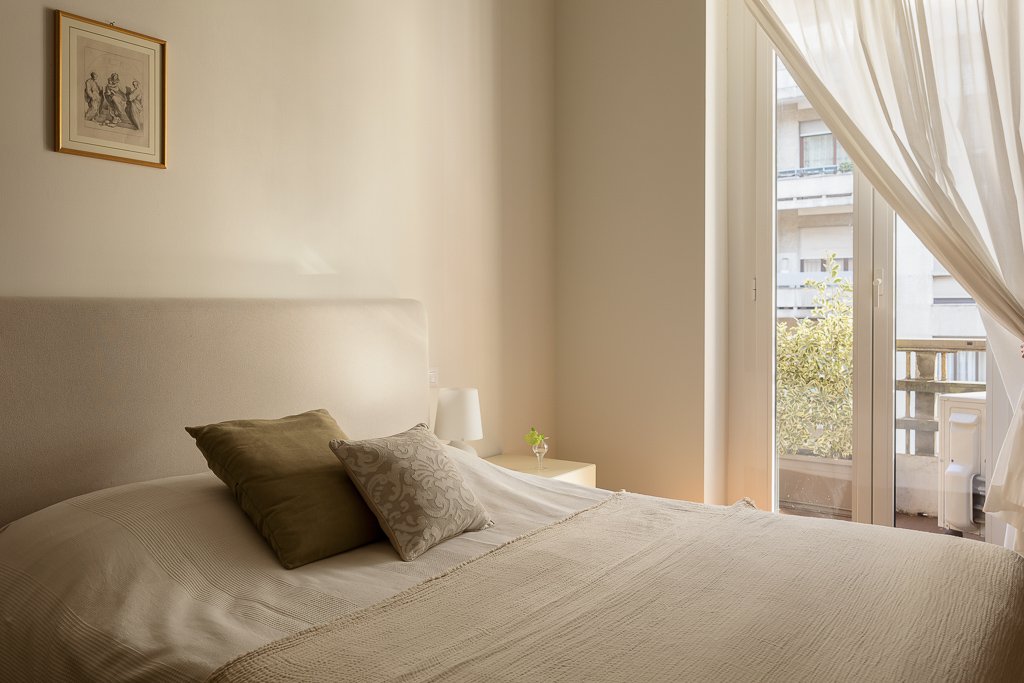
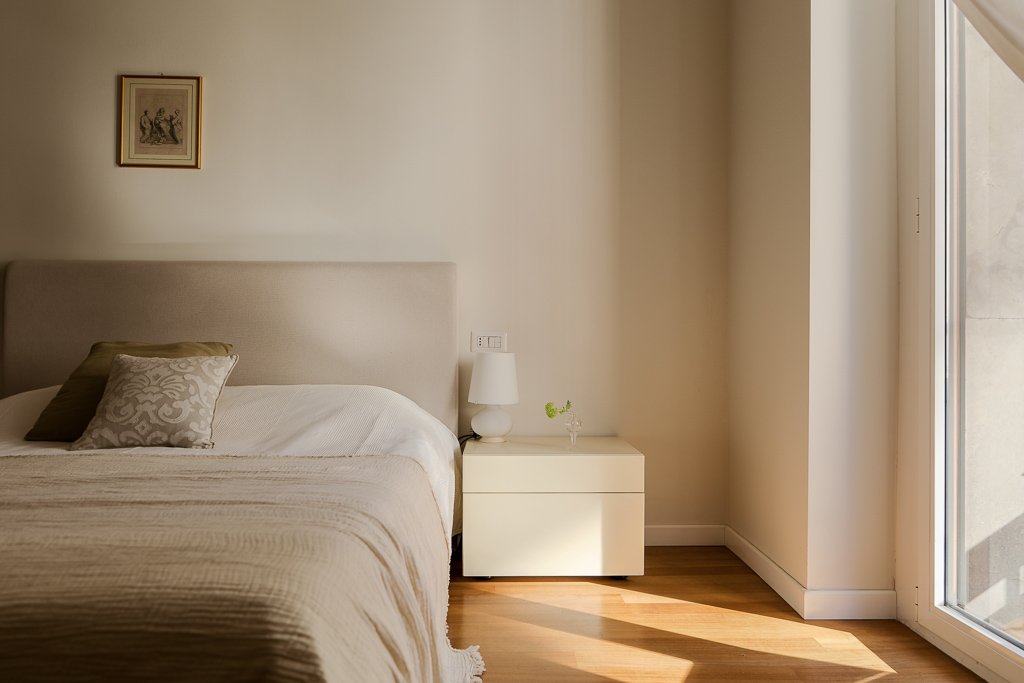
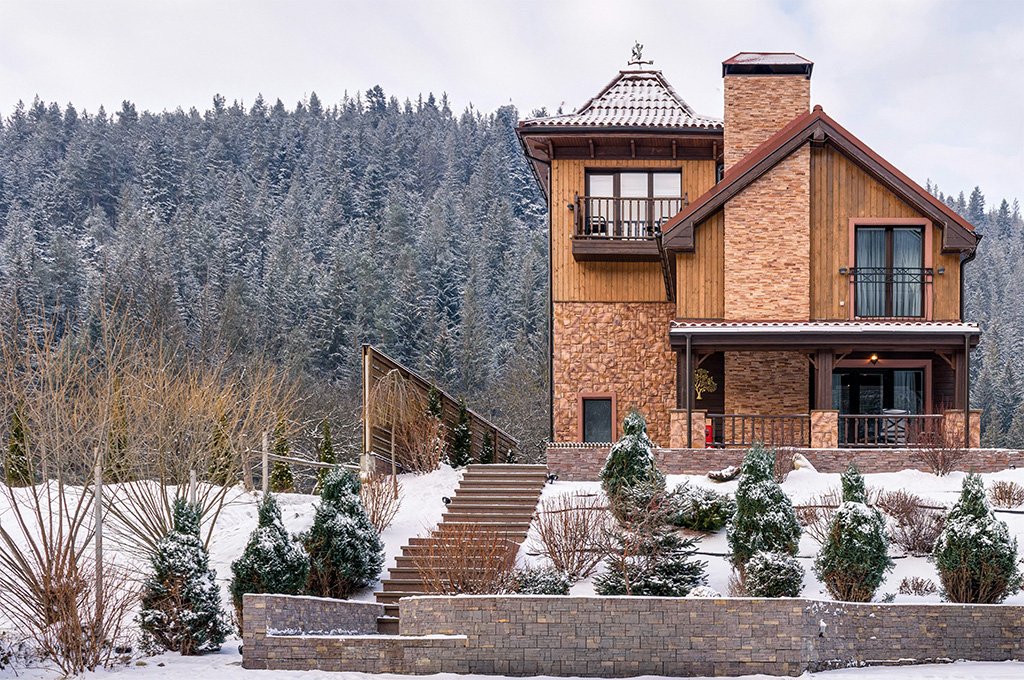
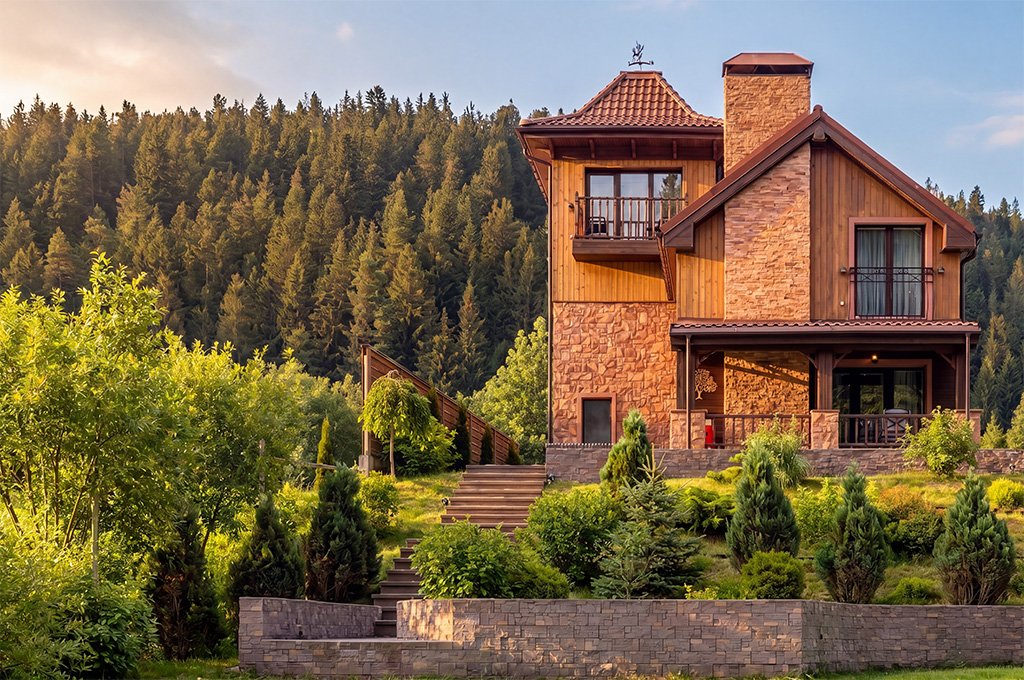
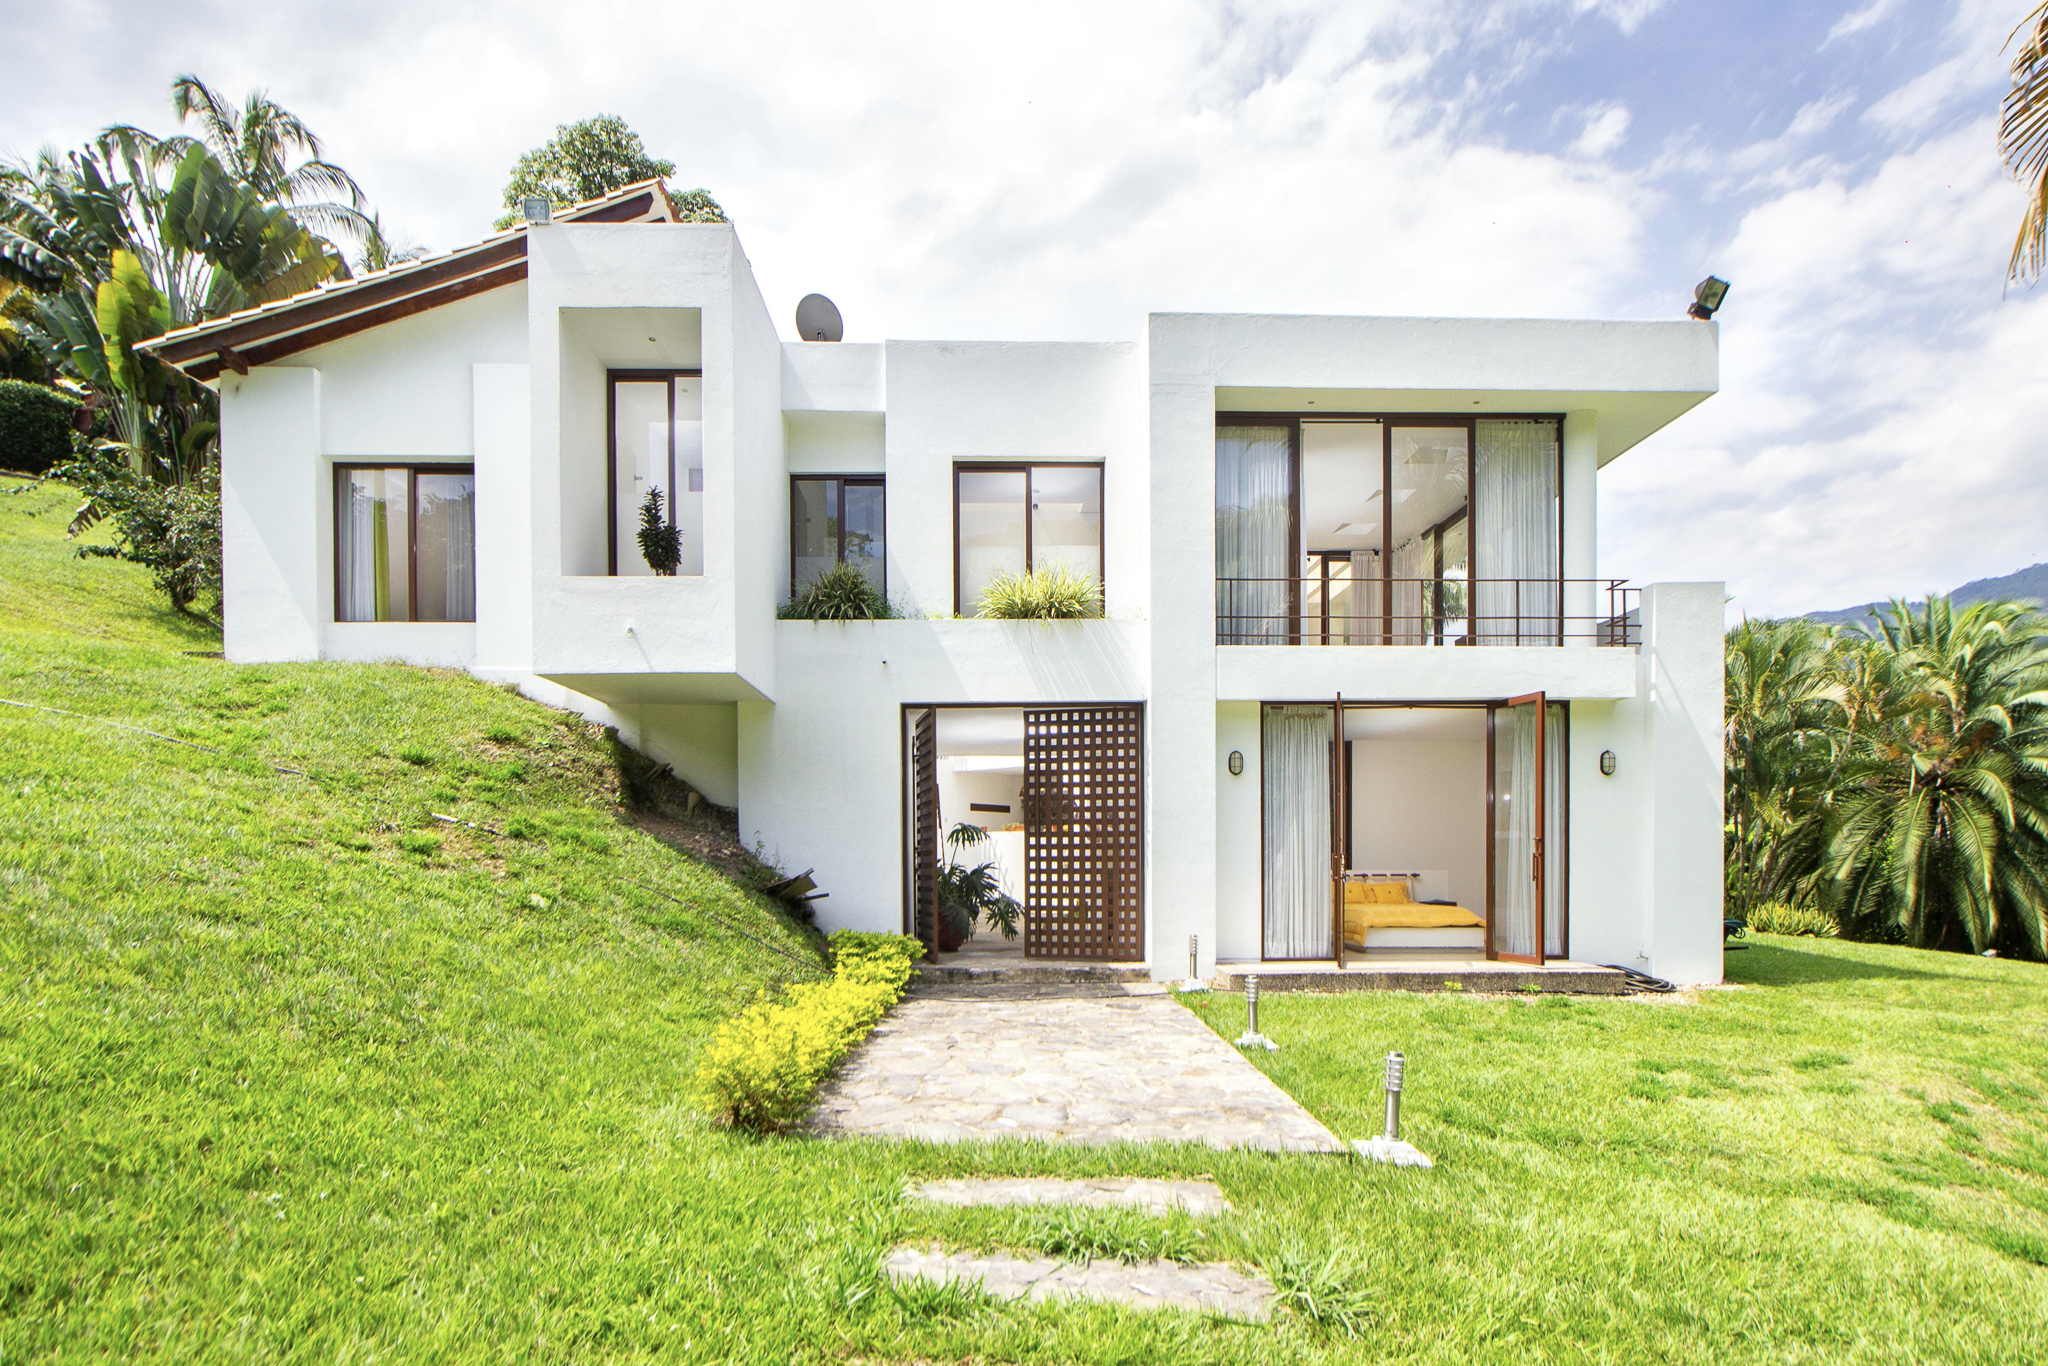
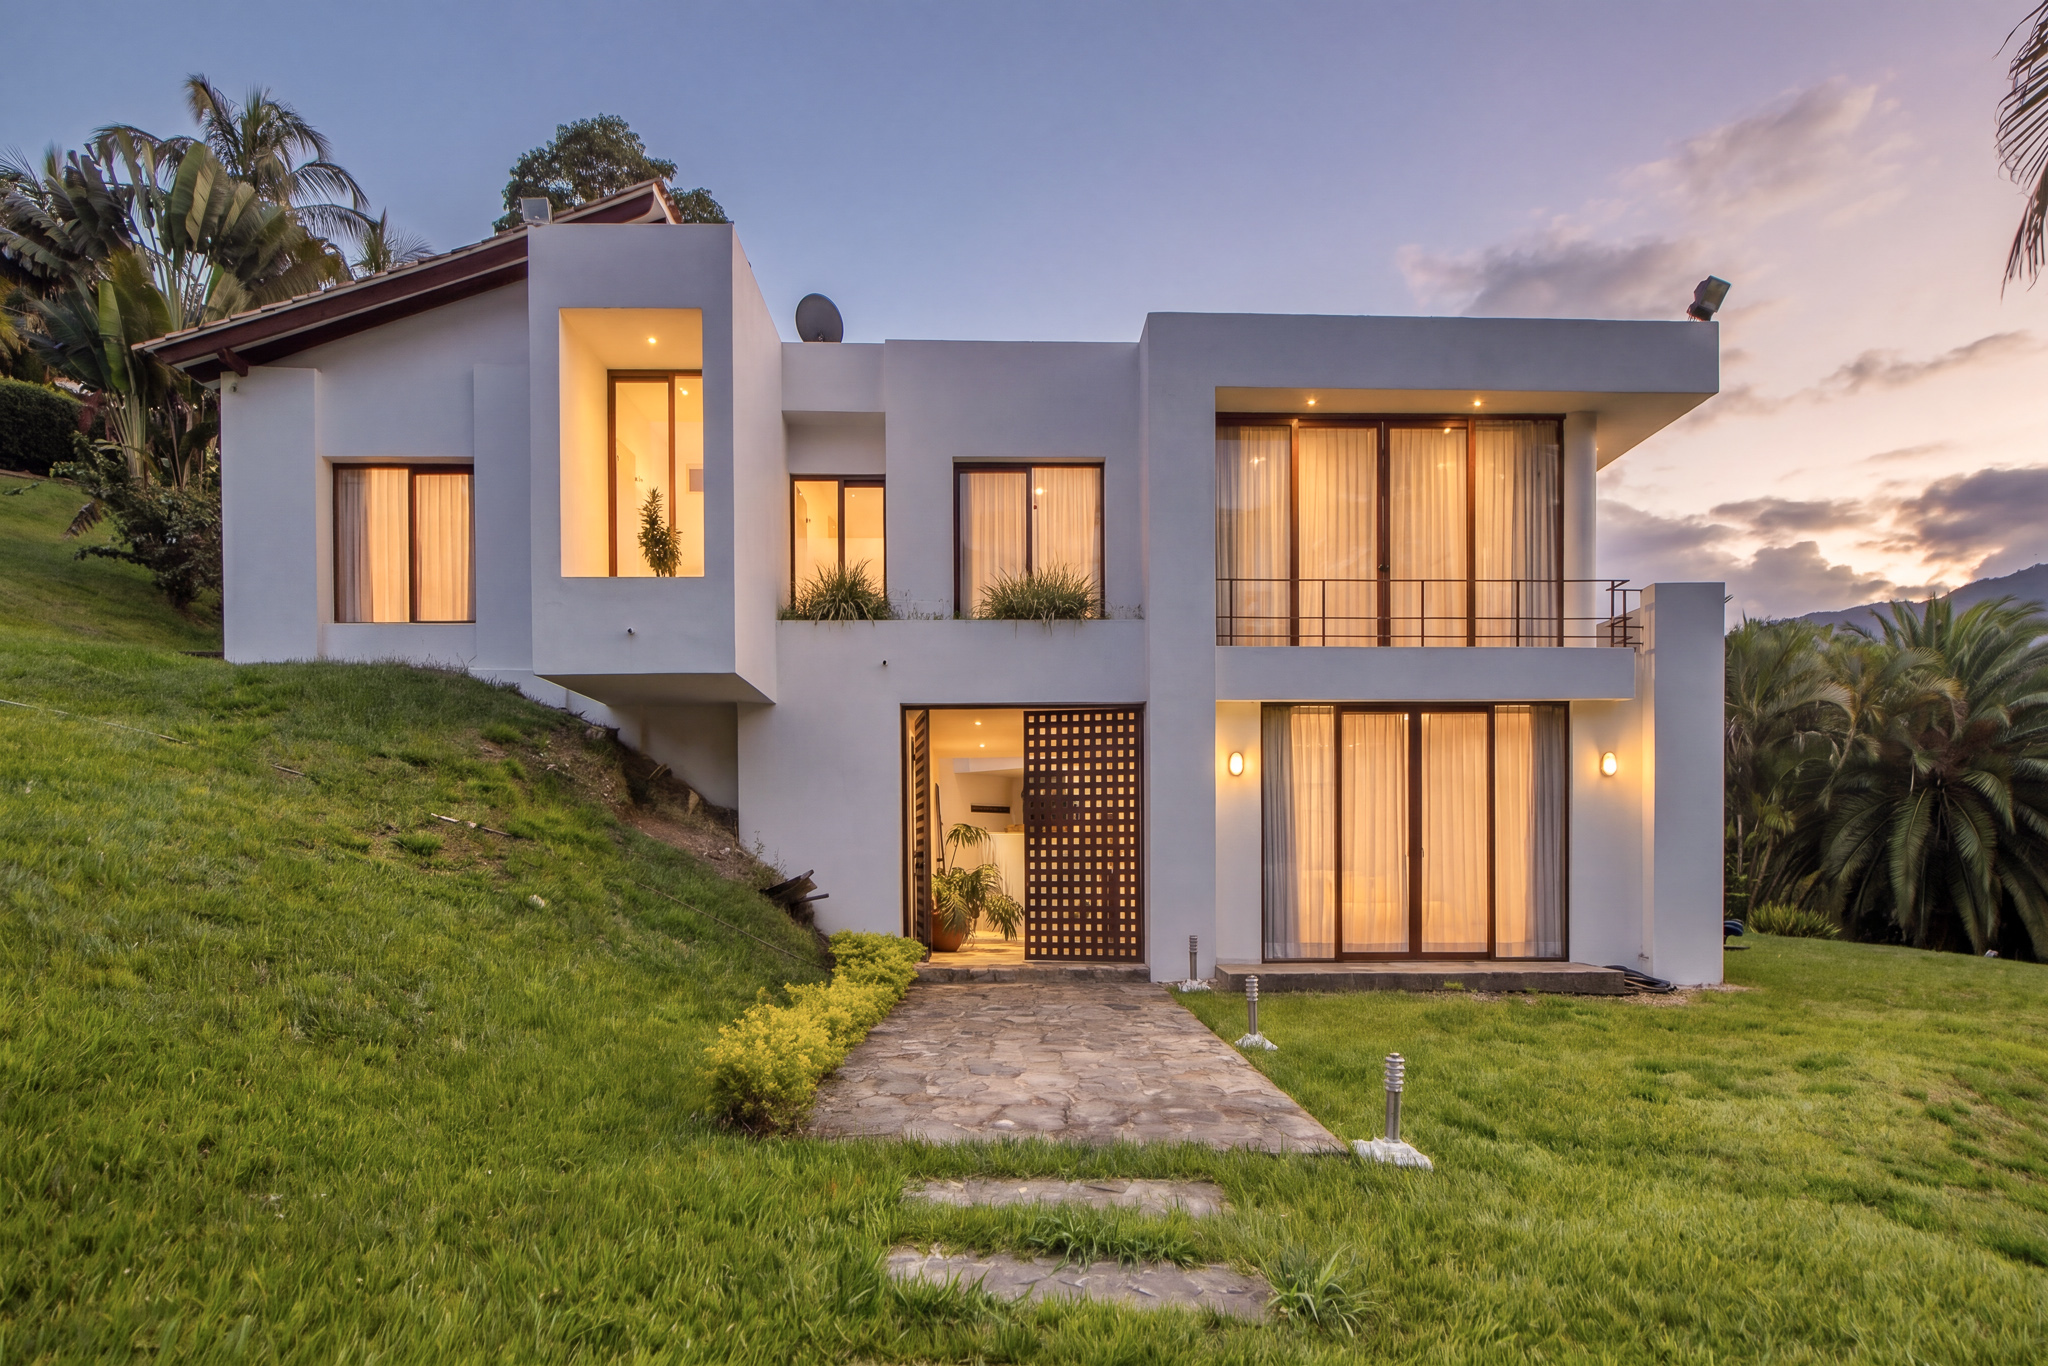
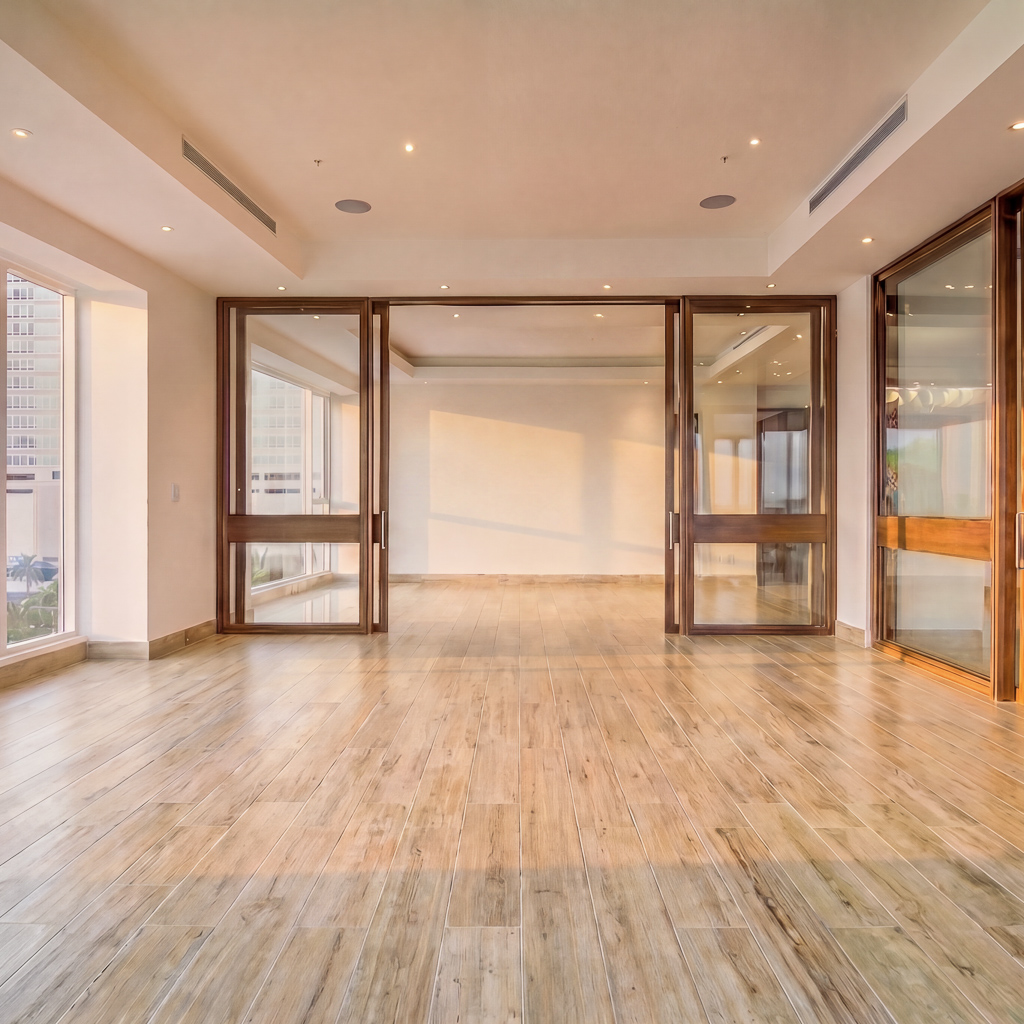
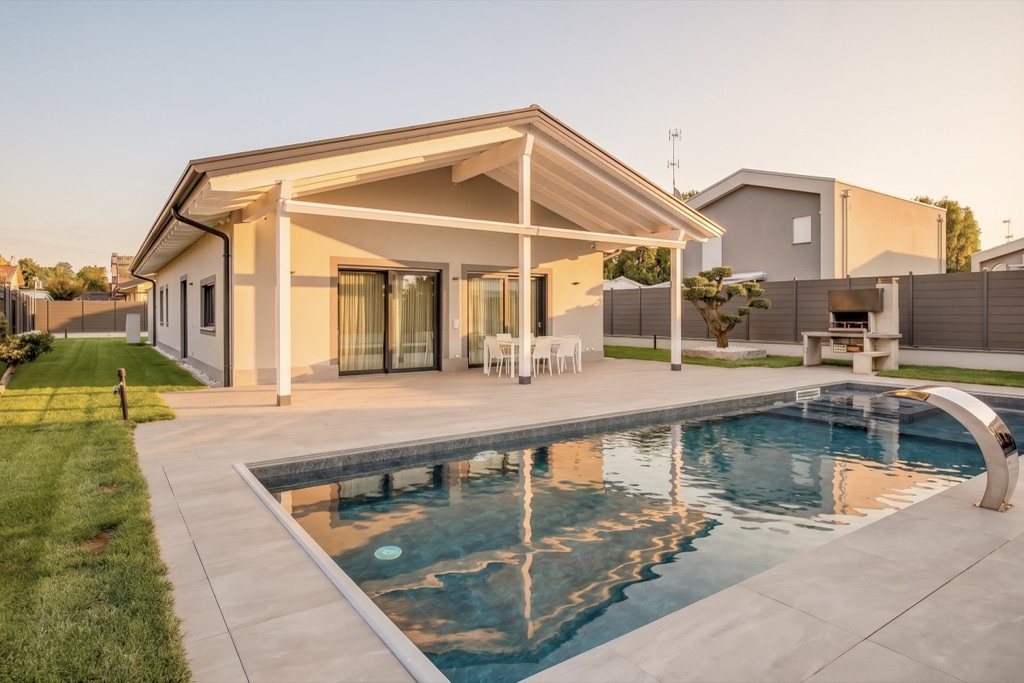
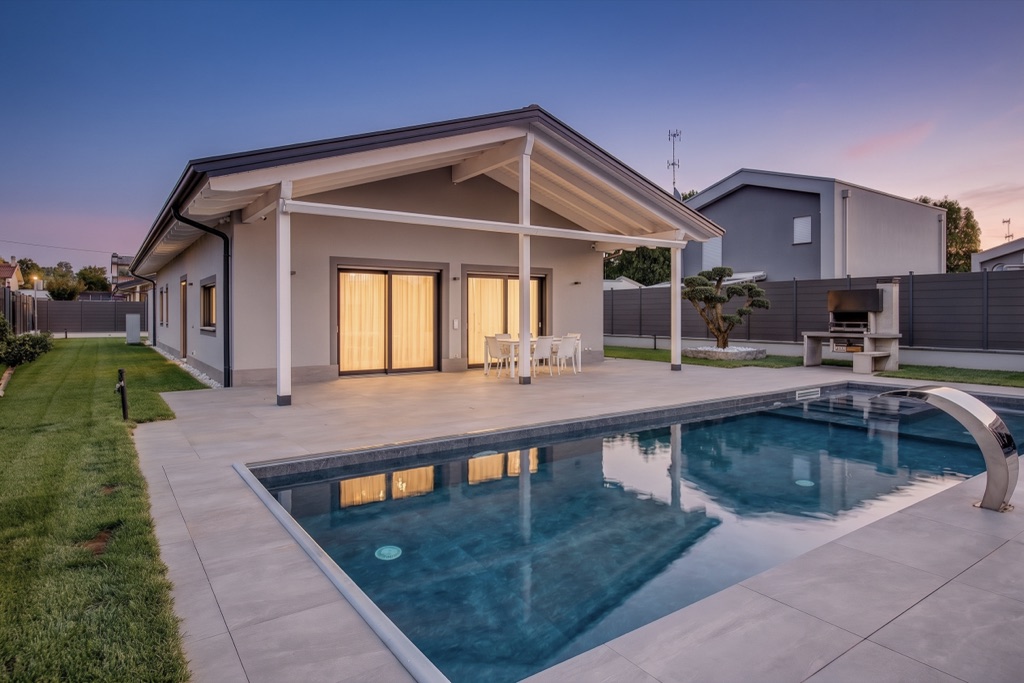
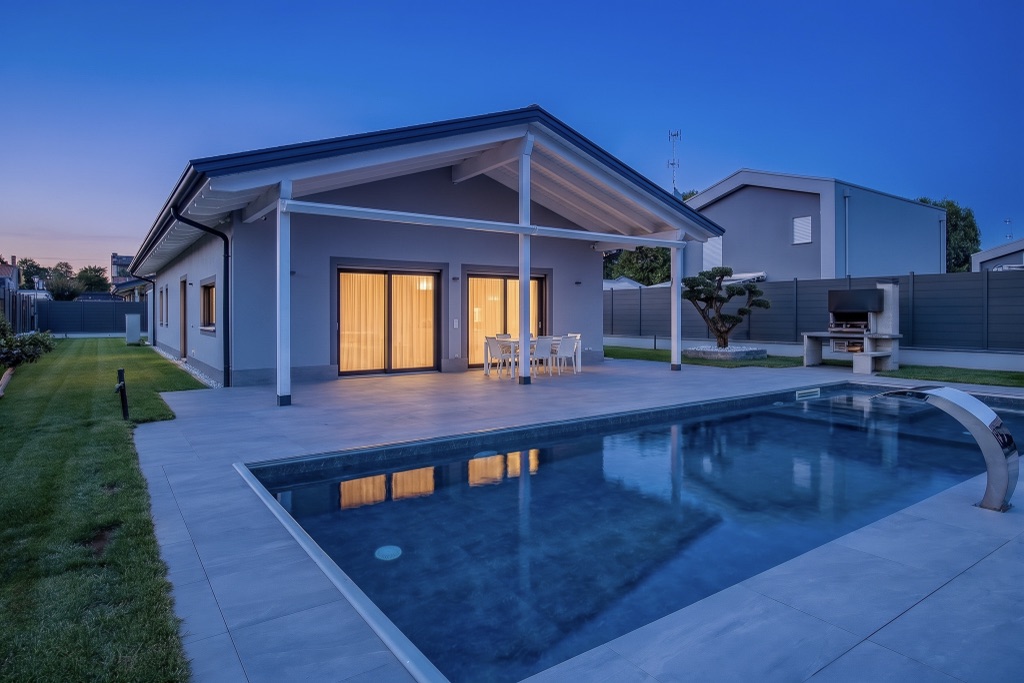
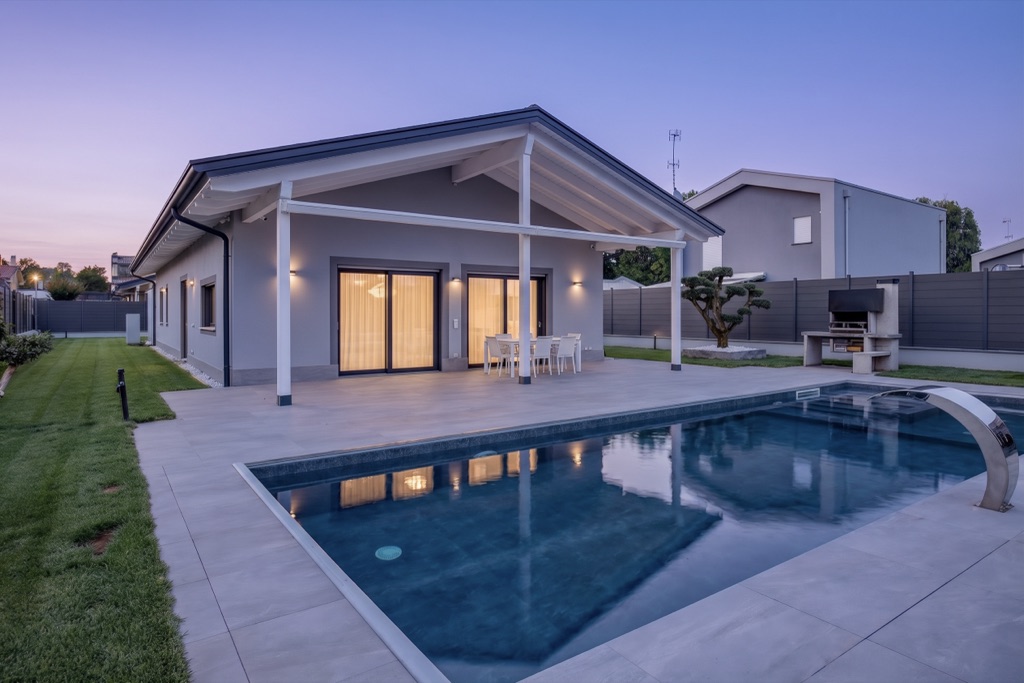
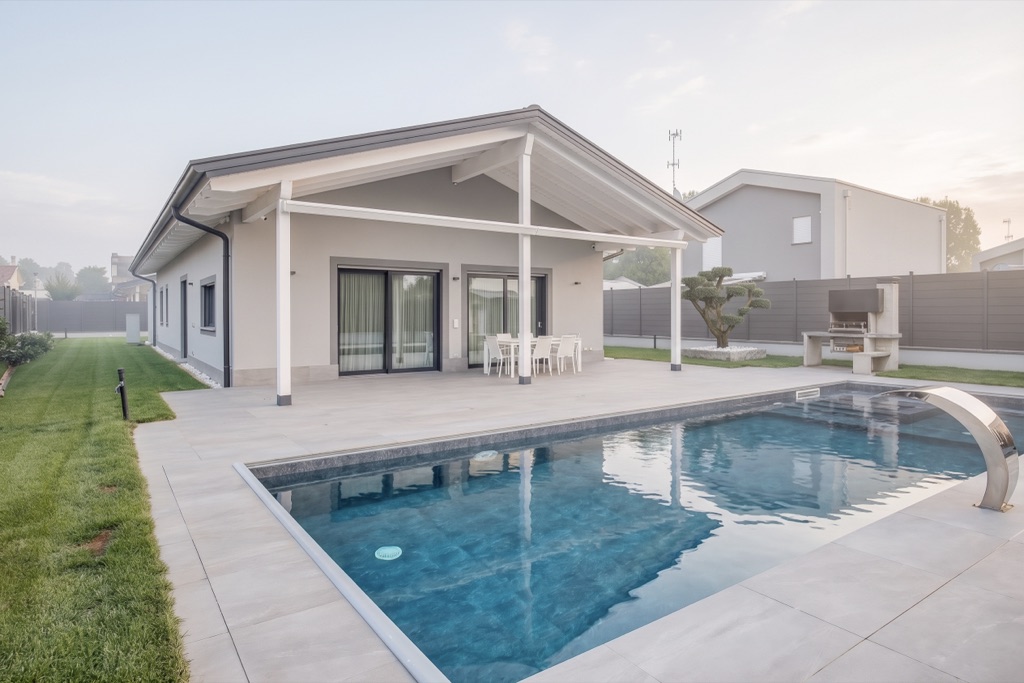
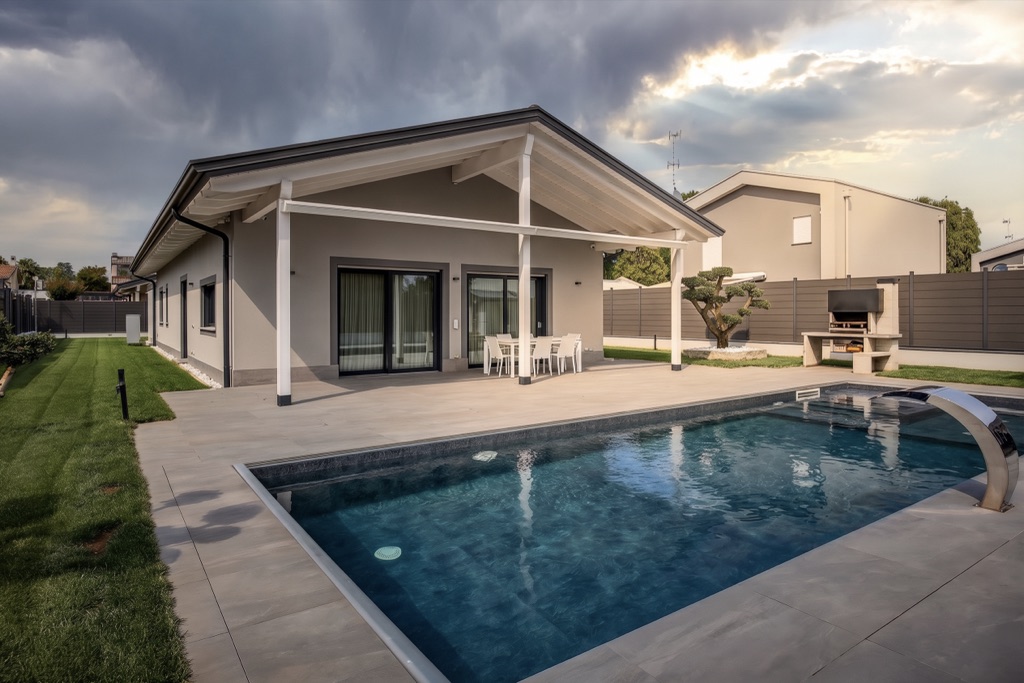
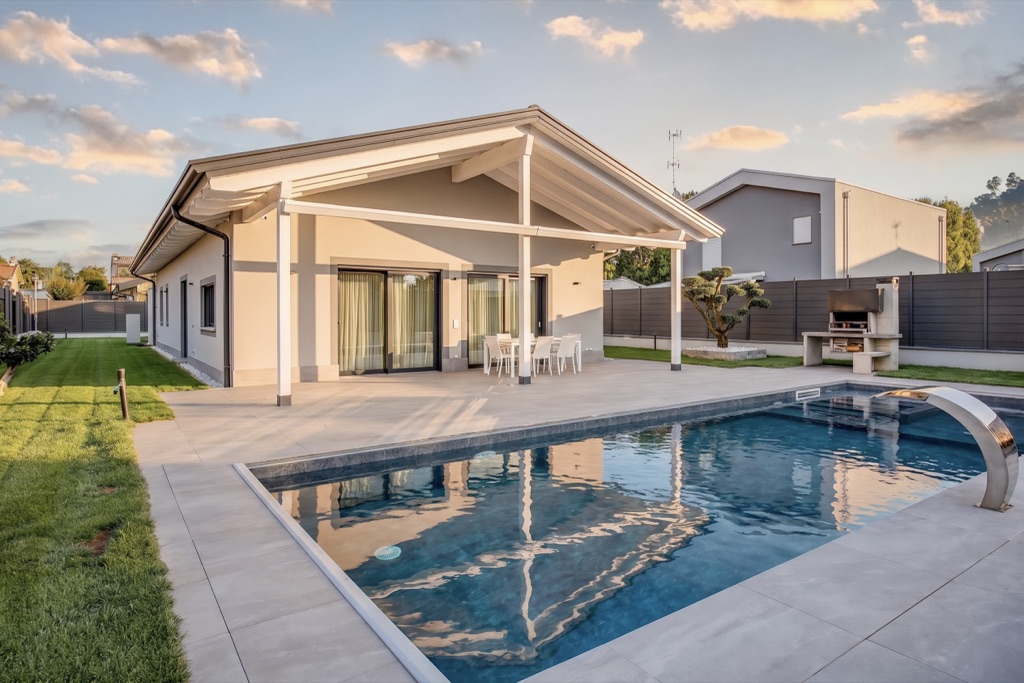
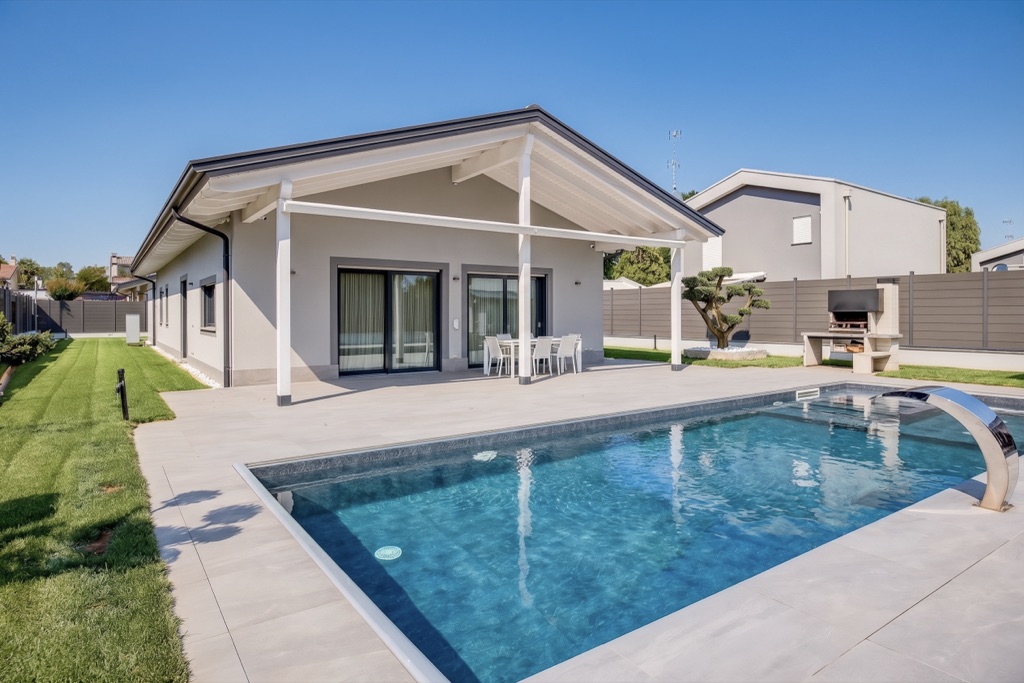
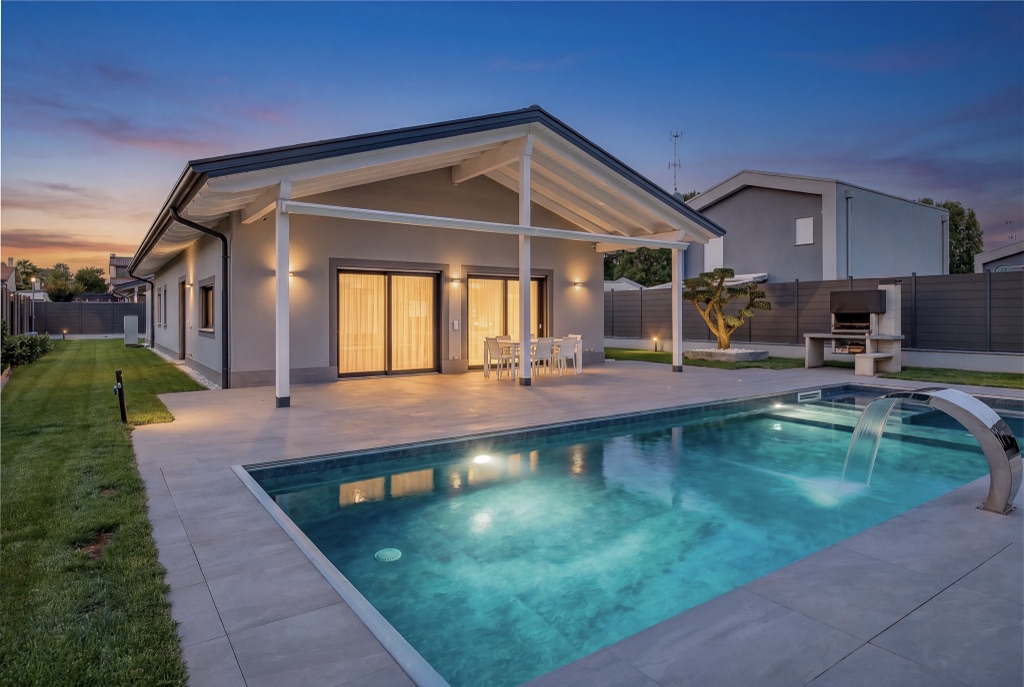
Turn a flat midday shot into twilight, golden hour or blue hour — warm ambient glow, lit windows, sky gradient. No Photoshop compositing, no waiting three hours on location for the light to turn.
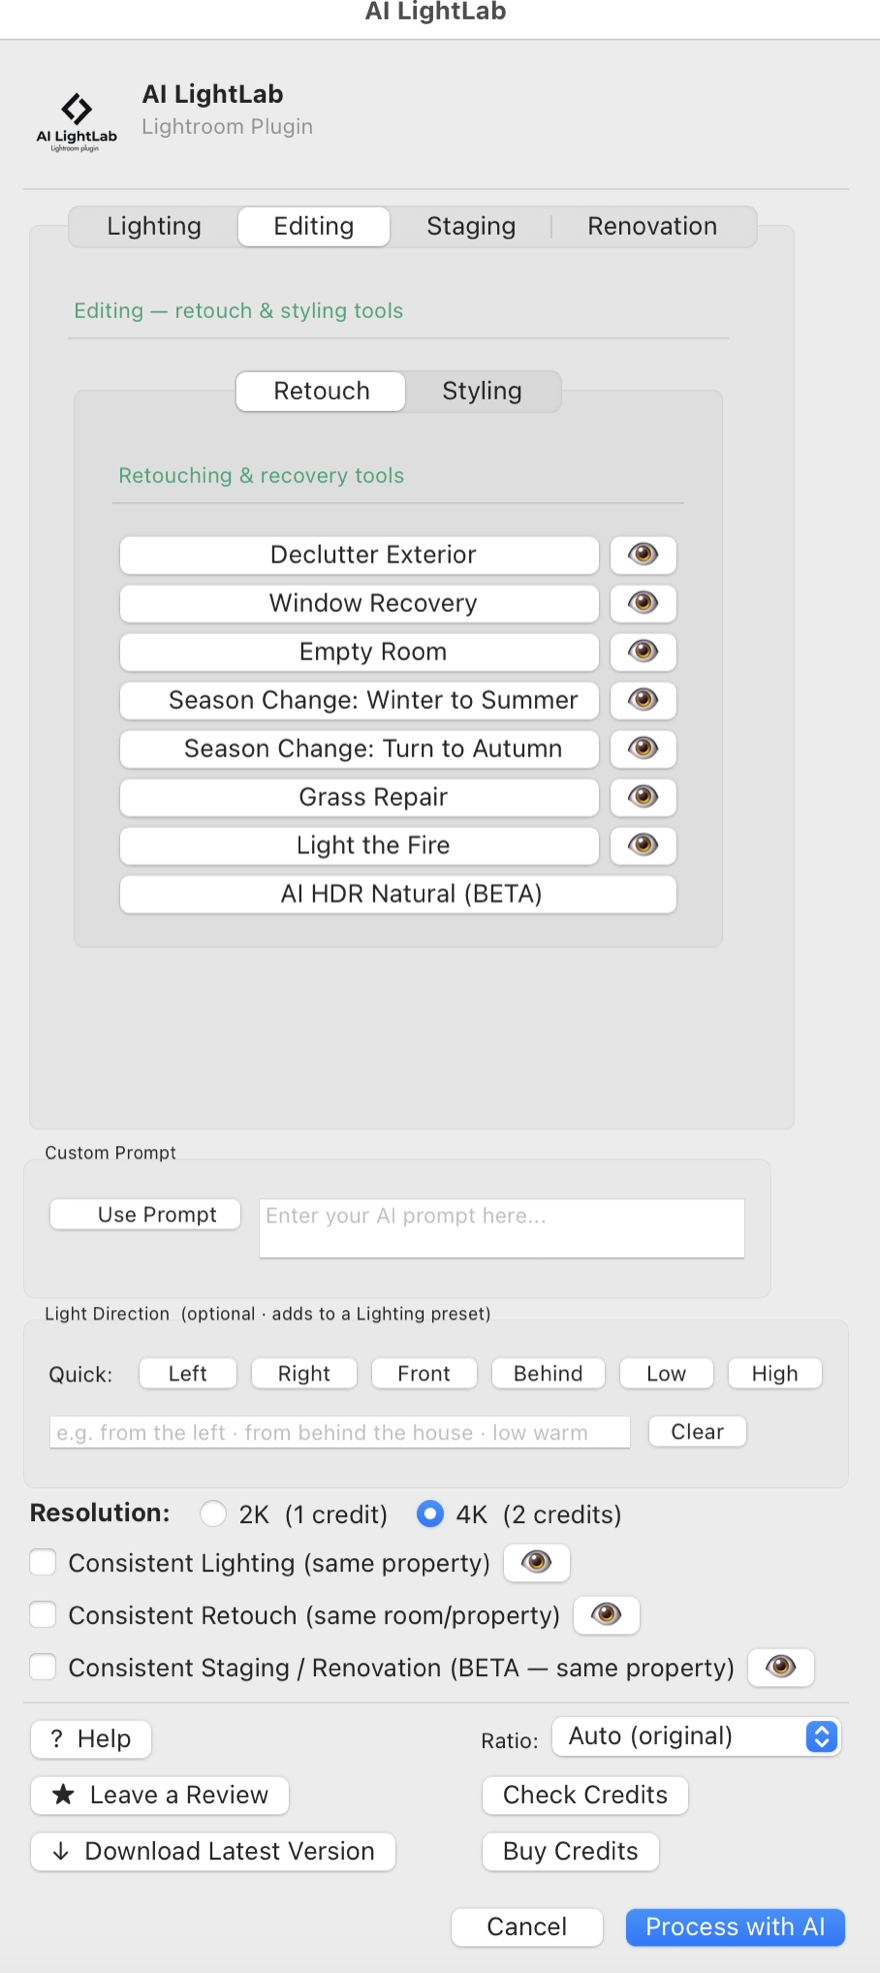
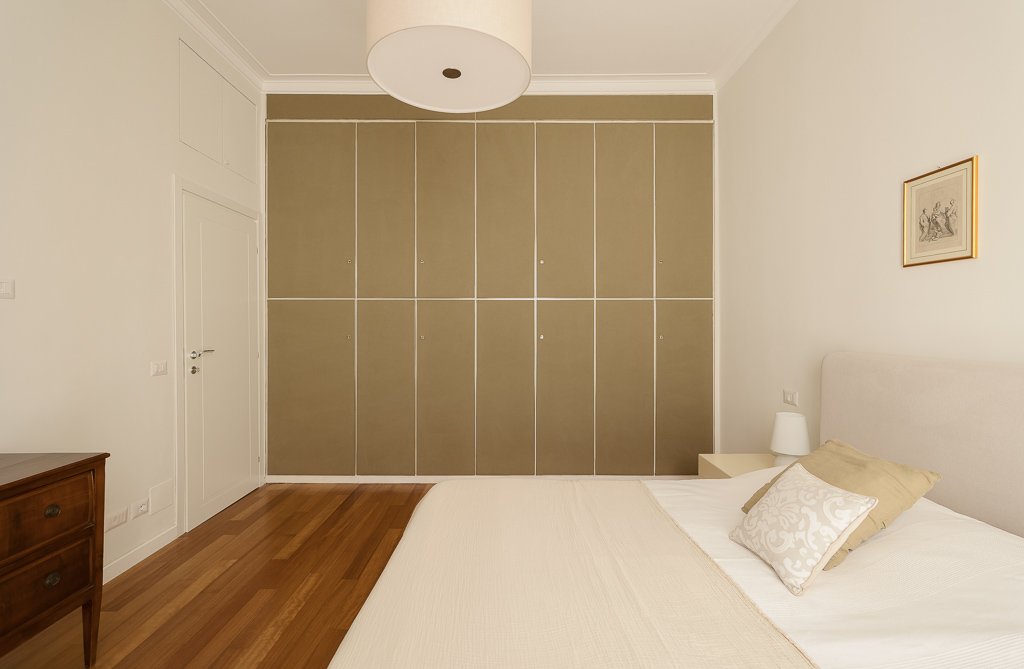
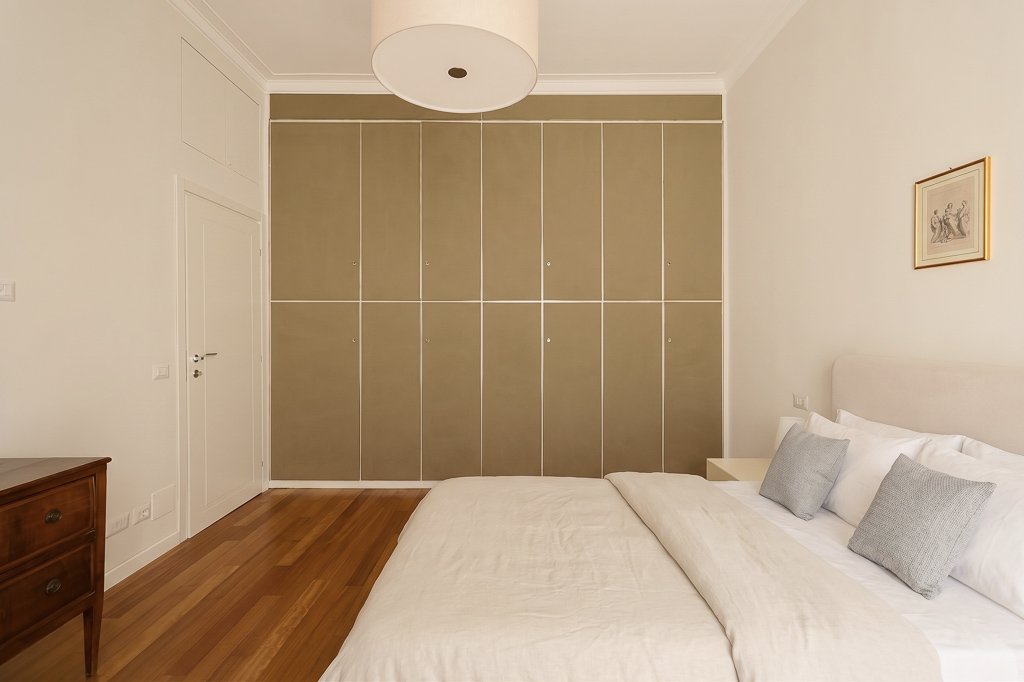
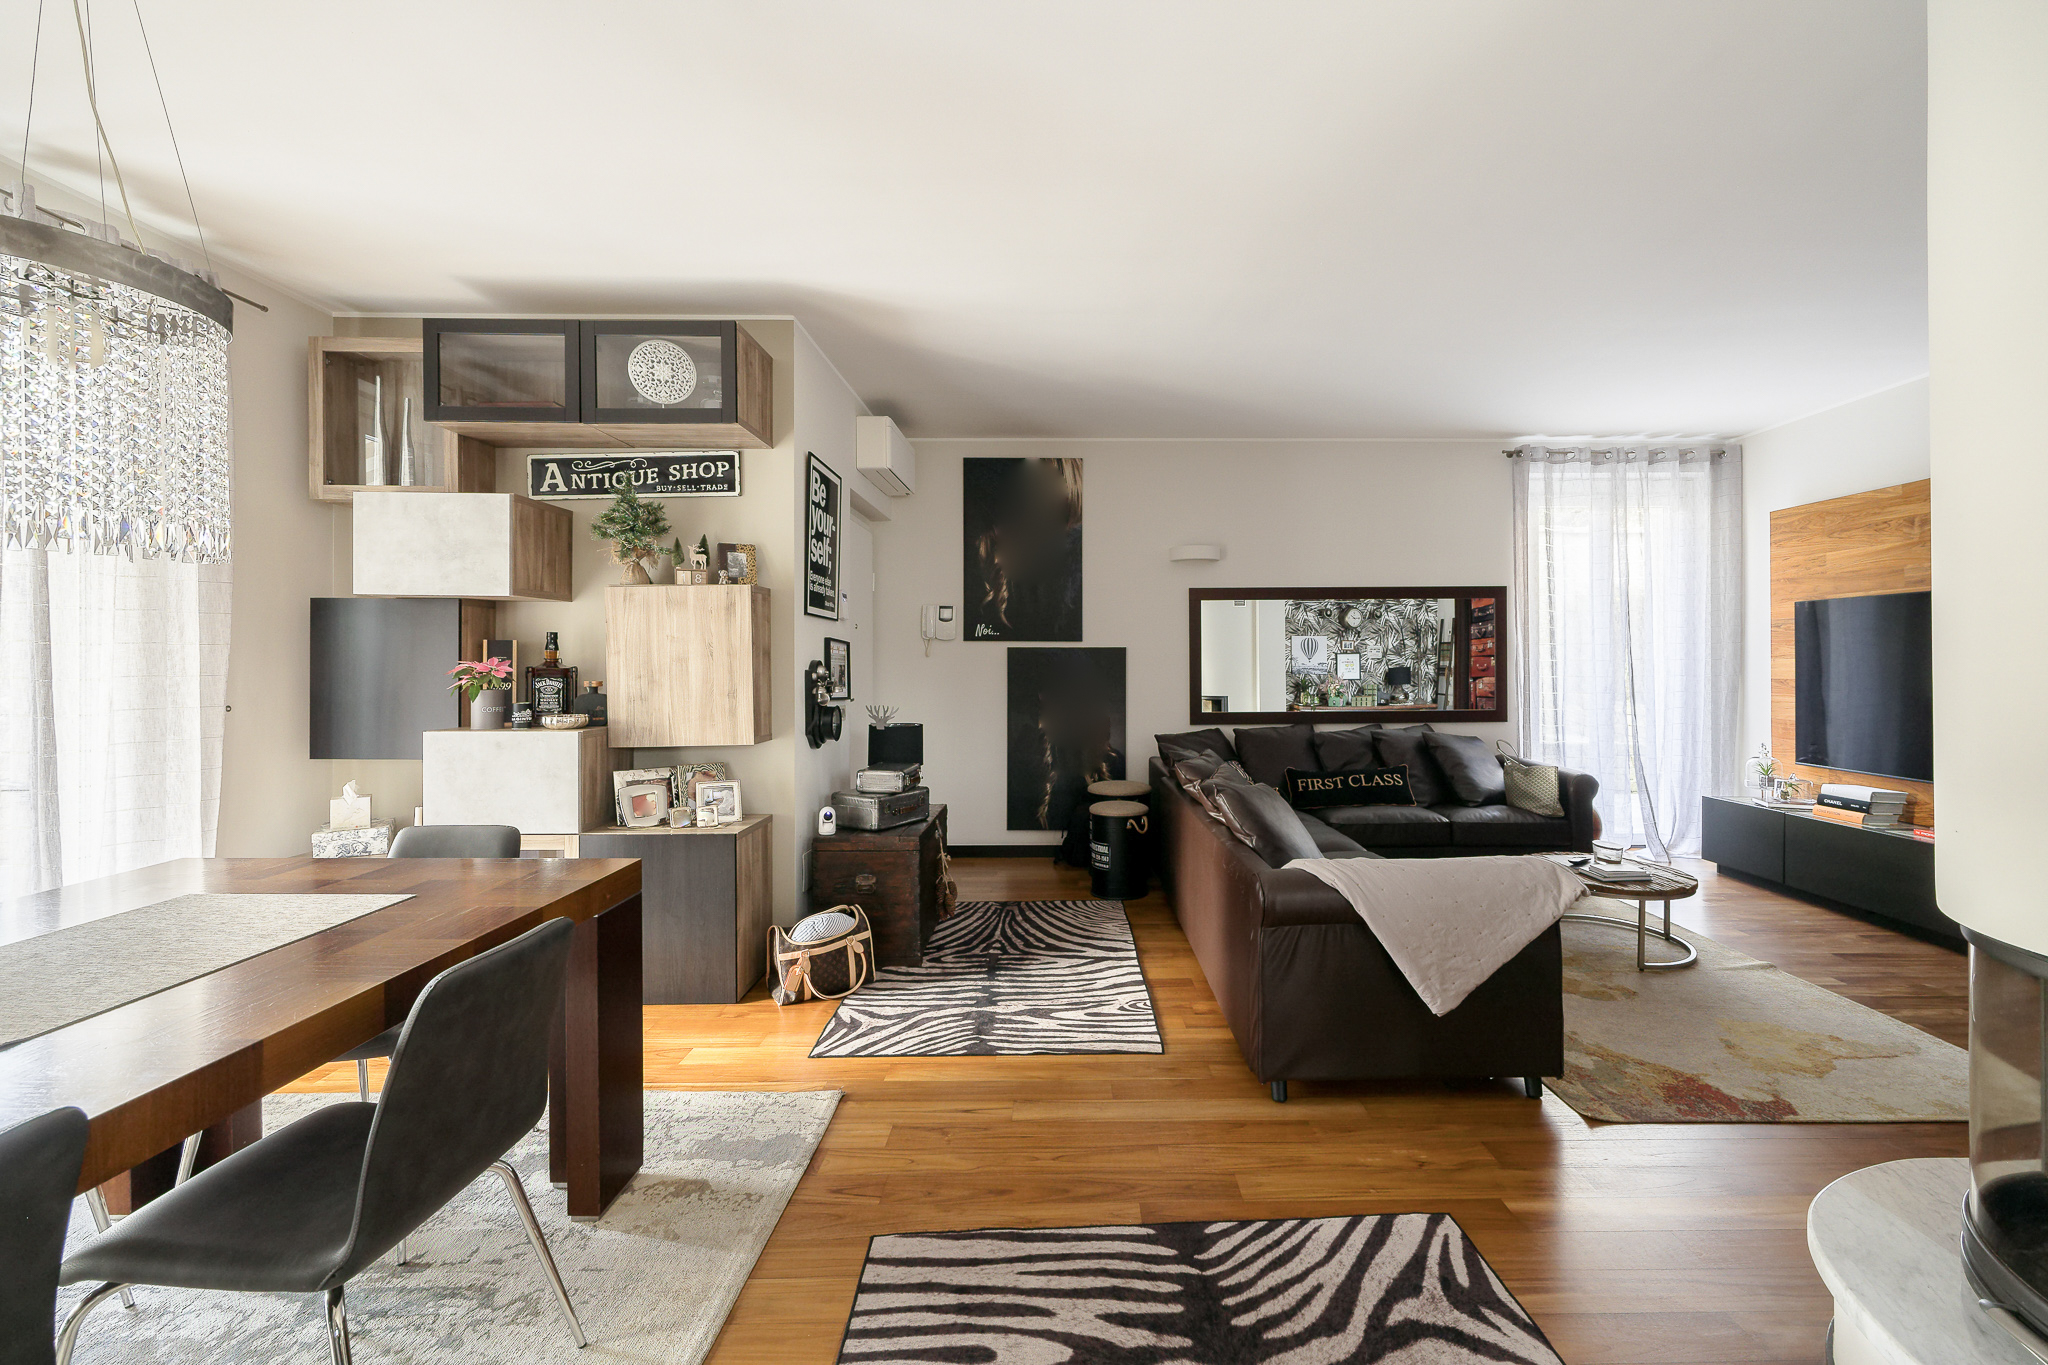
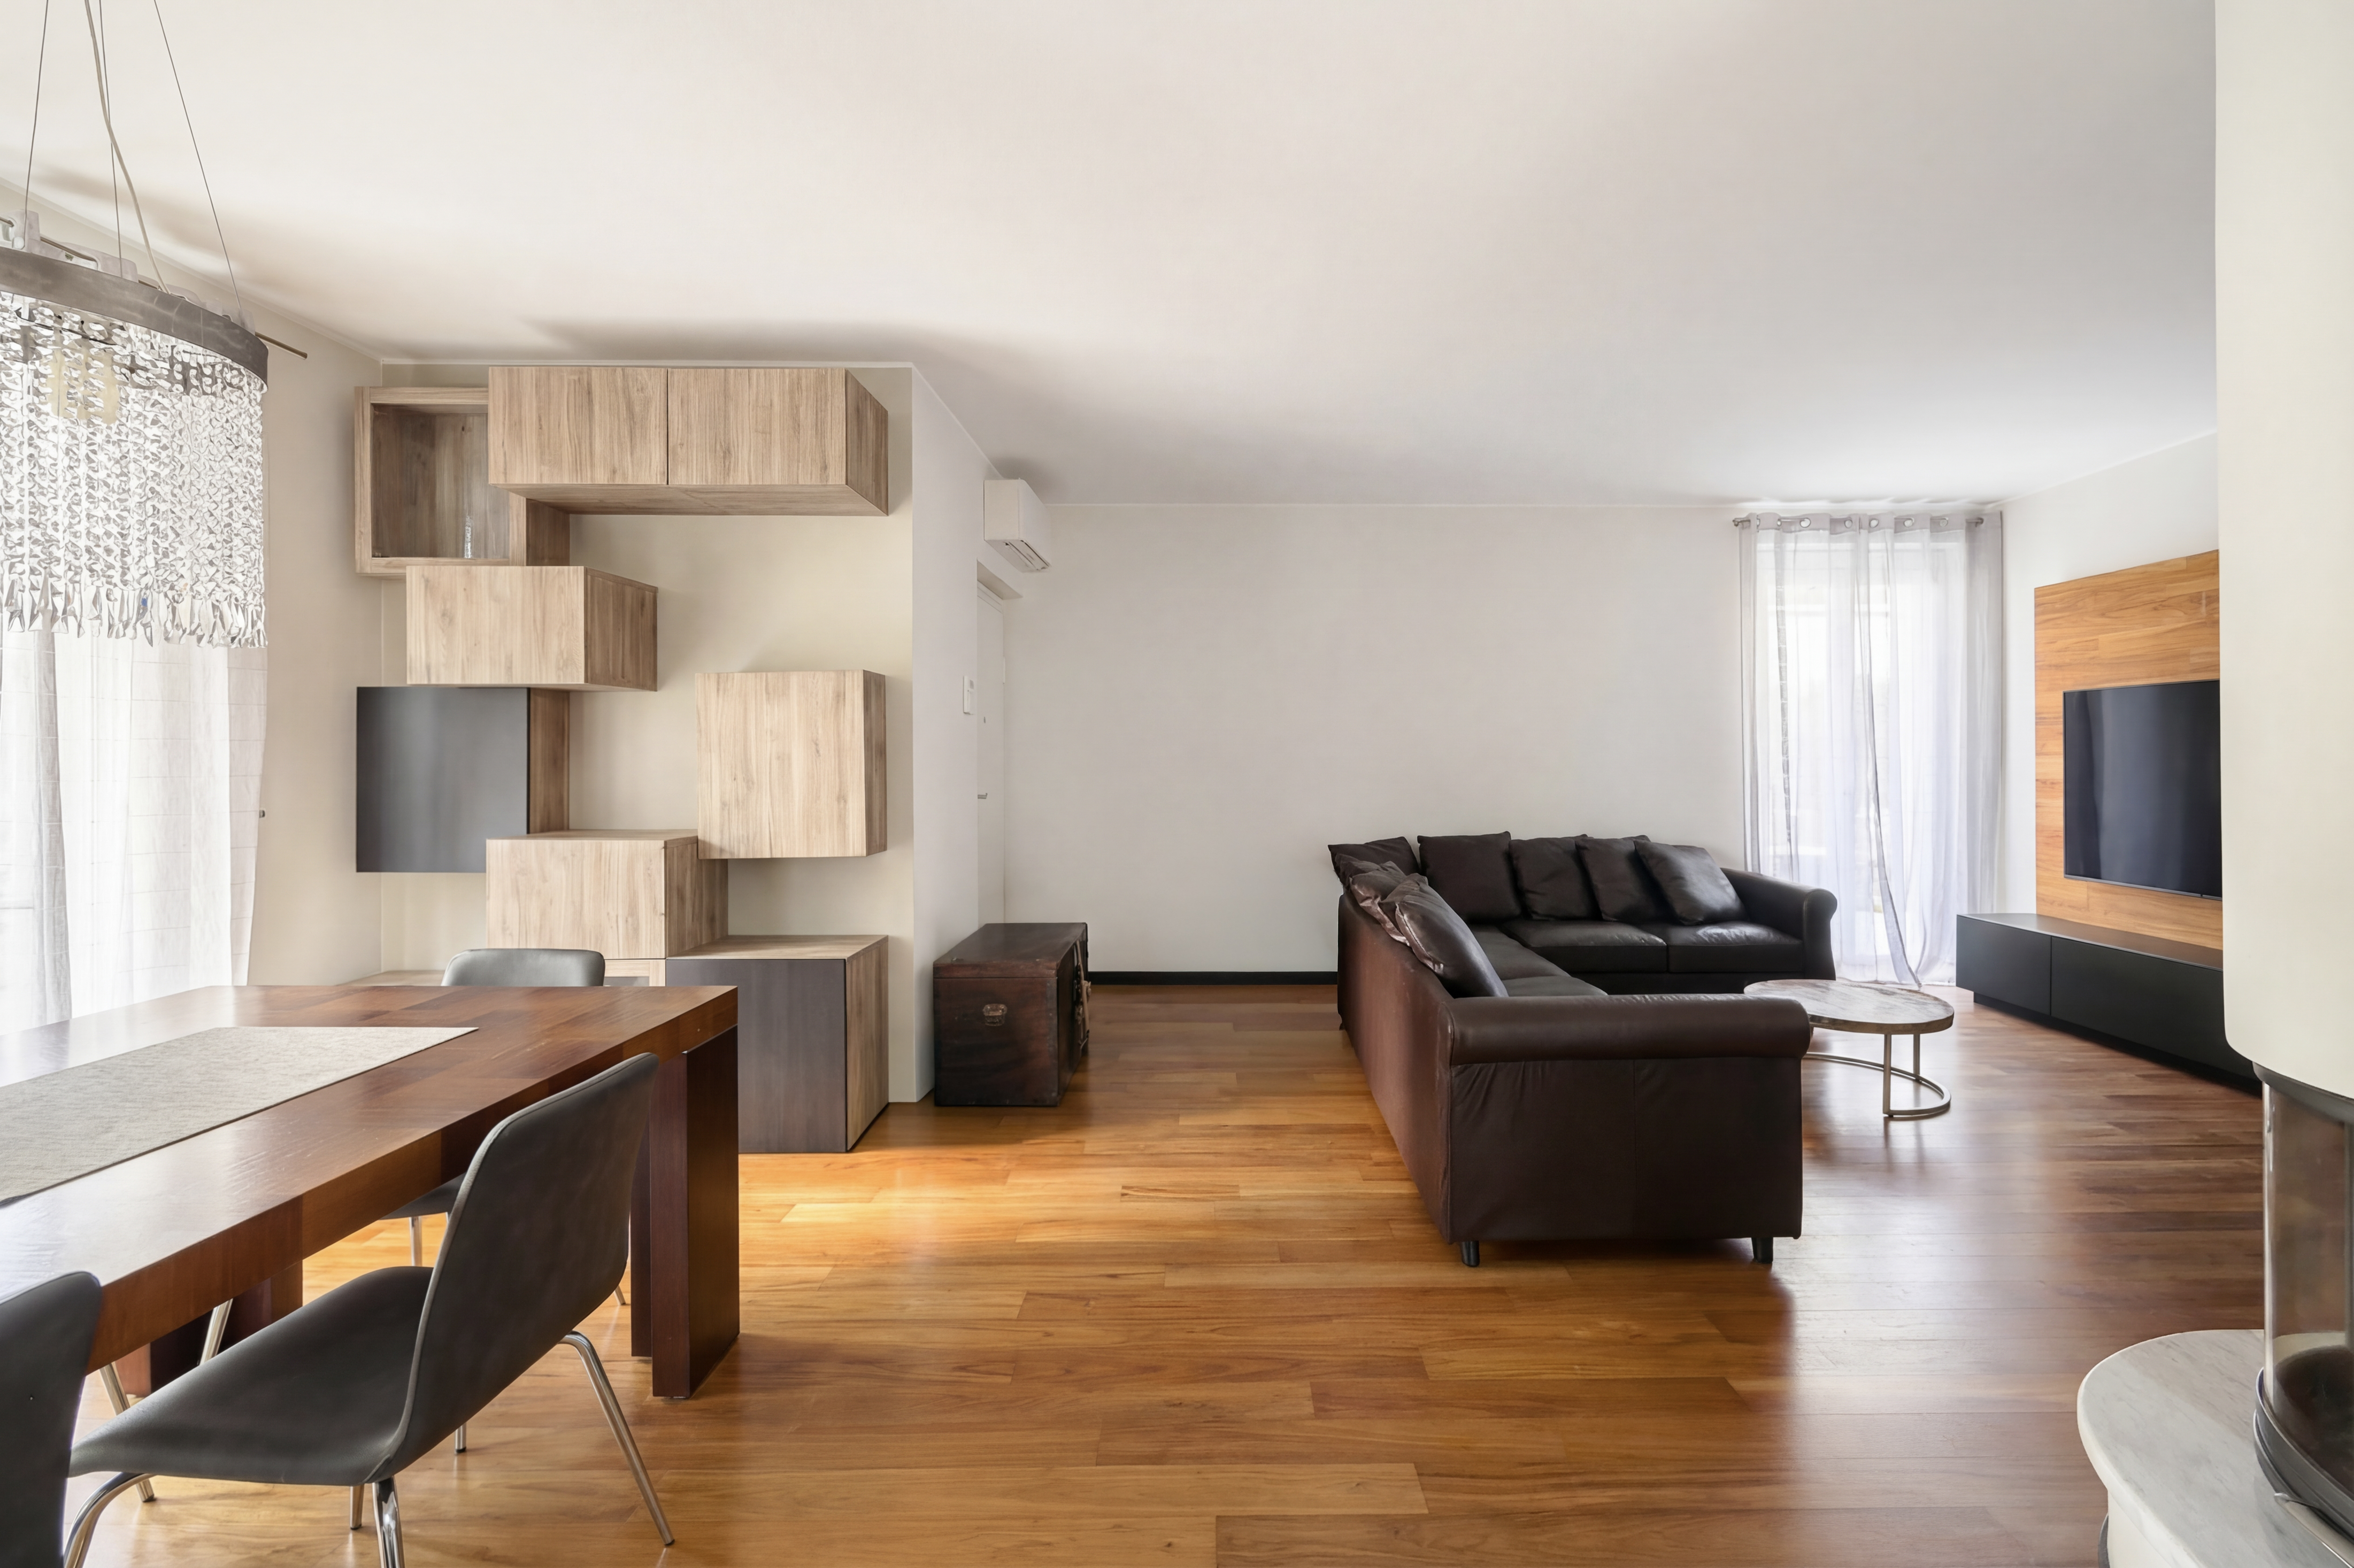
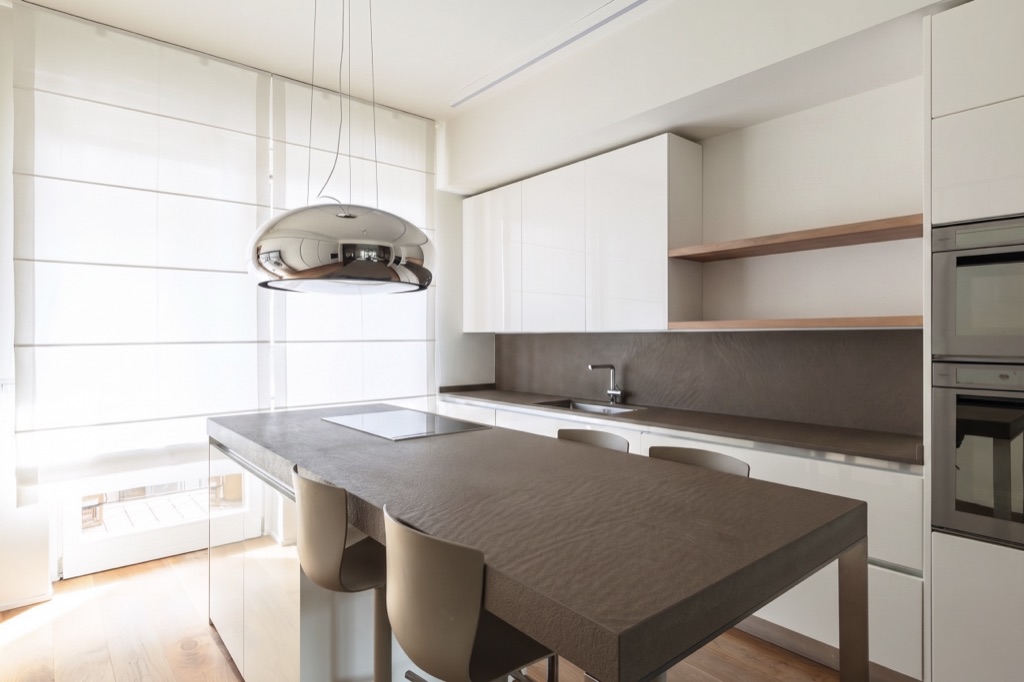
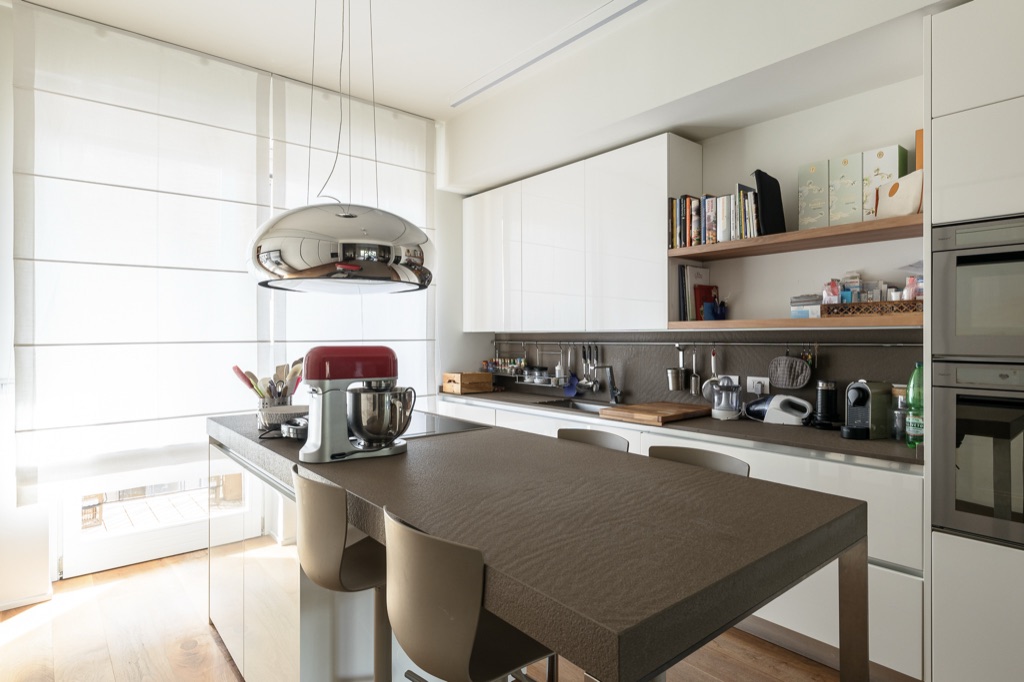
The manual retouch tasks every property photographer hates — cables, toiletries, personal items, signage — removed in one pass. Or empty a room down to structure. Batch 30+ photos while you grab coffee.
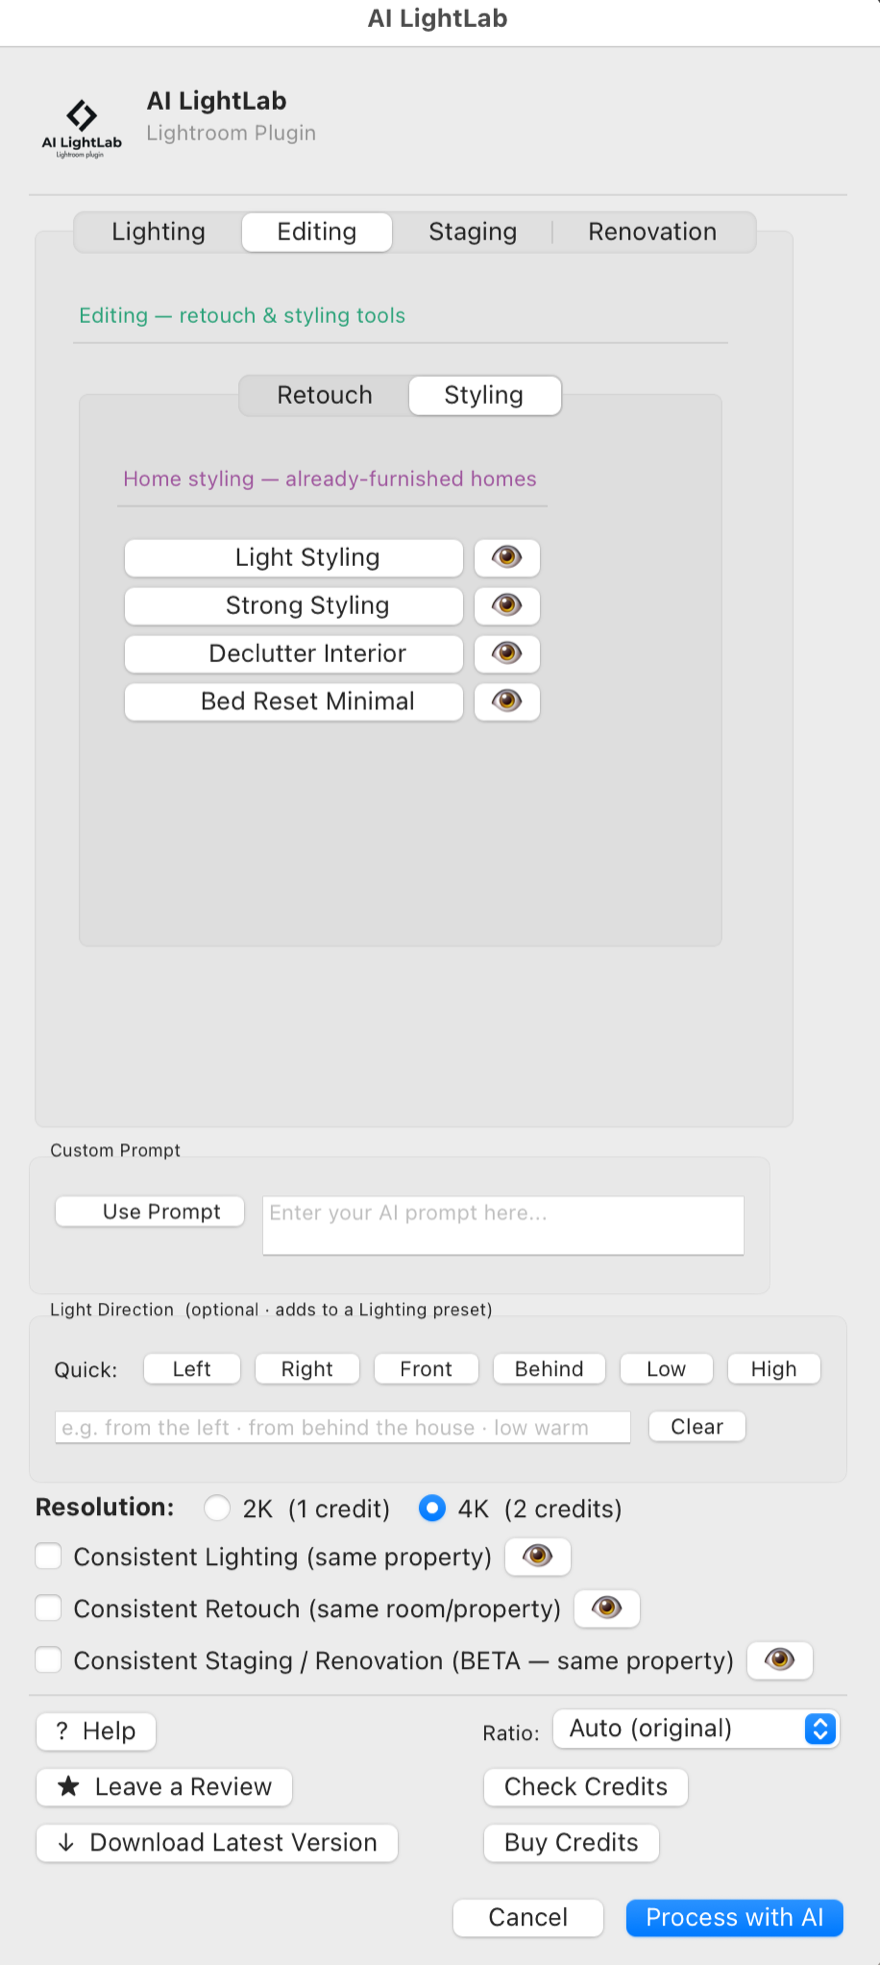
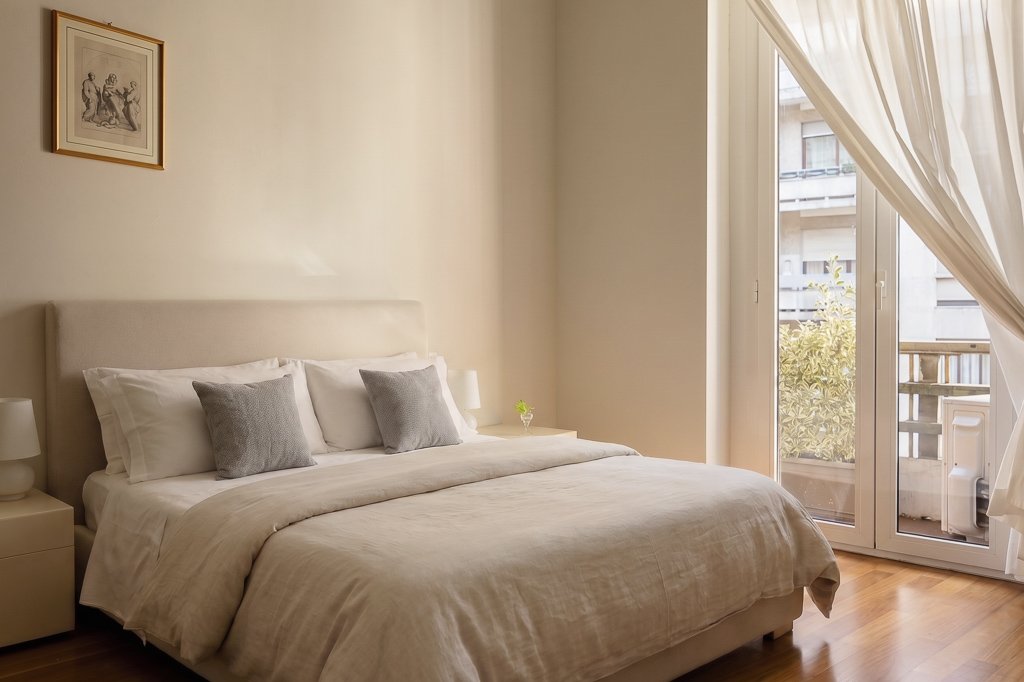
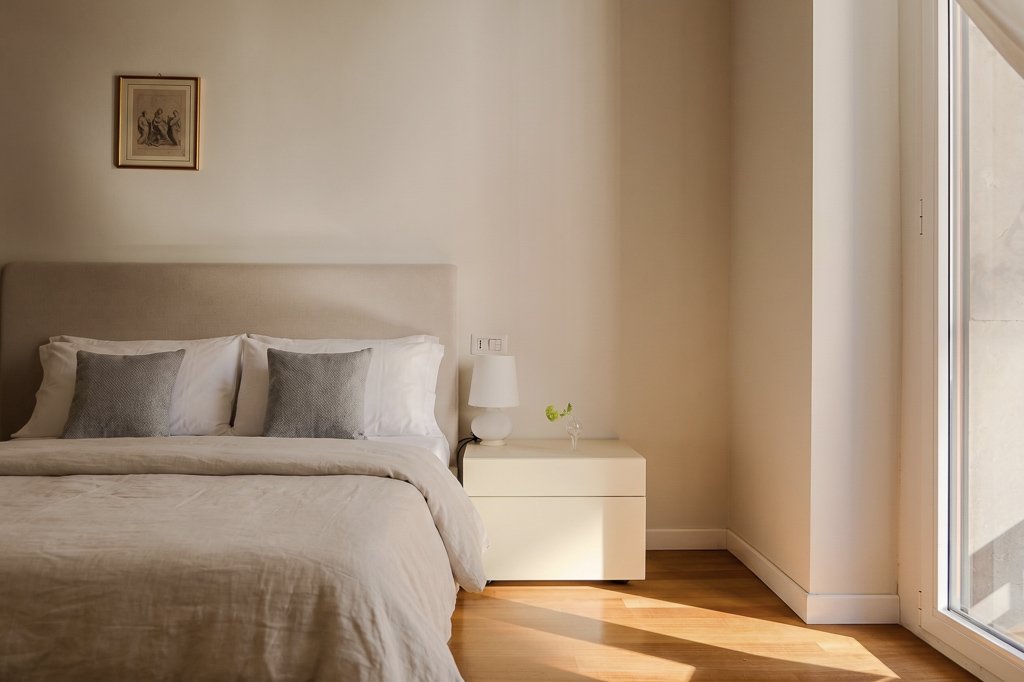
Tick one box and the whole batch stays coherent — mood, color temperature, sky palette locked across every room. Consistent Retouch covers bed reset and season change, keeping retouch details aligned shot after shot.
.jpg)
.jpg)
.jpg)
.jpg)
.jpg)
.jpg)
.jpg)
.jpg)
.jpg)
.jpg)
.jpg)
.jpg)
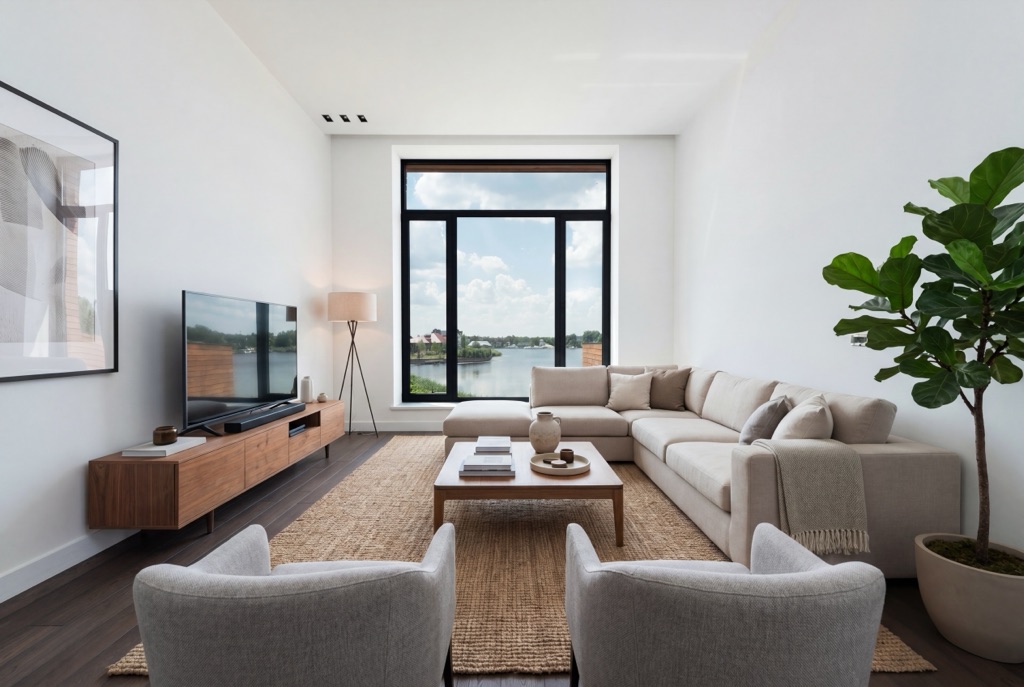
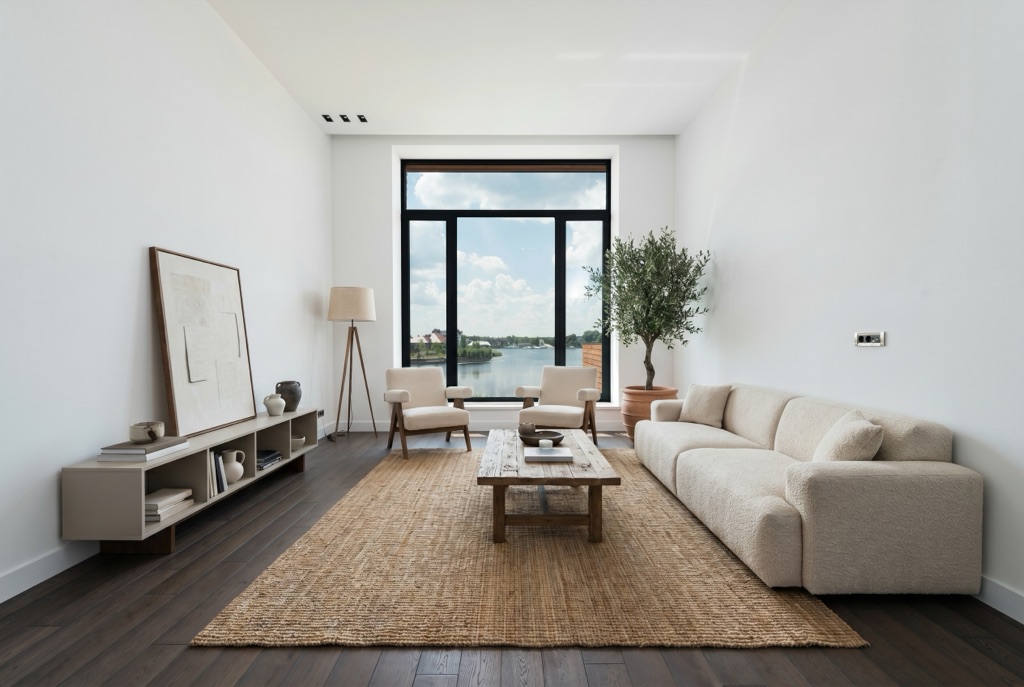
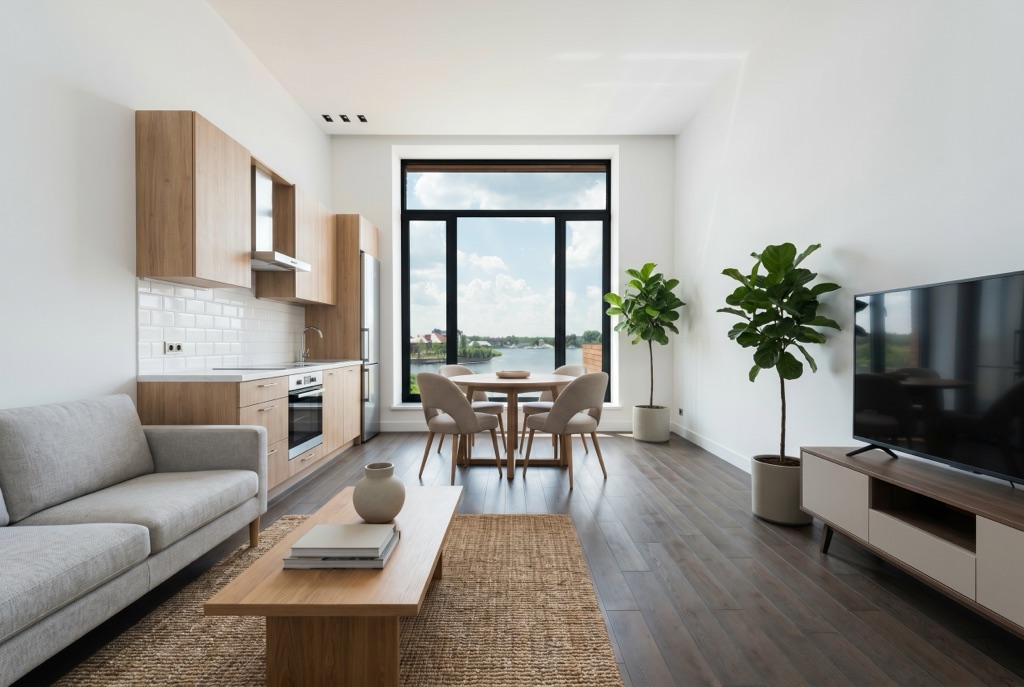
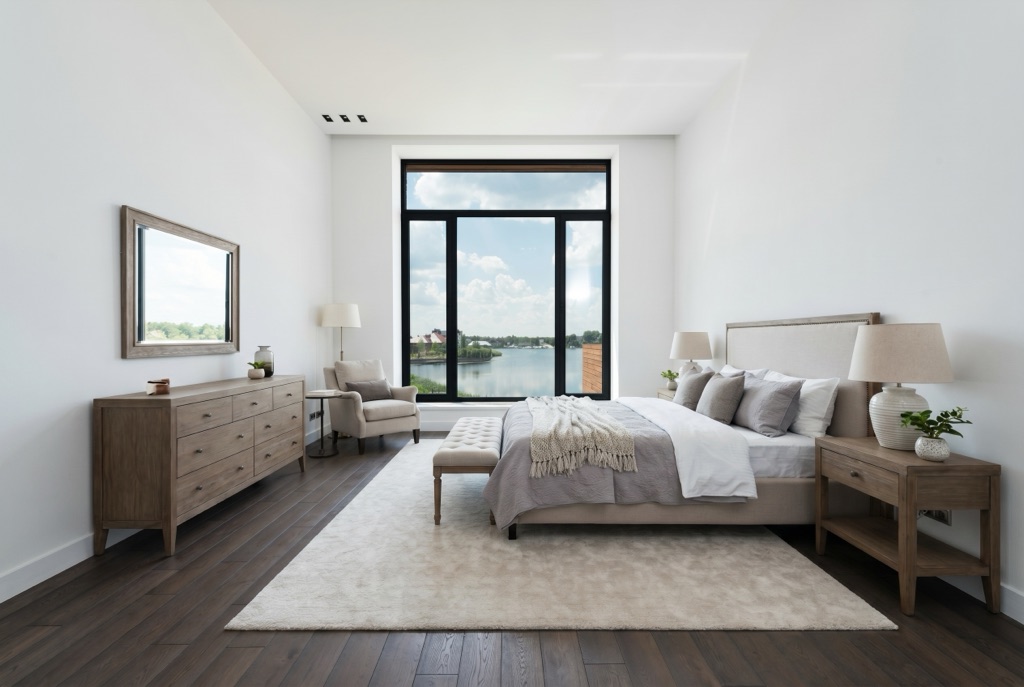
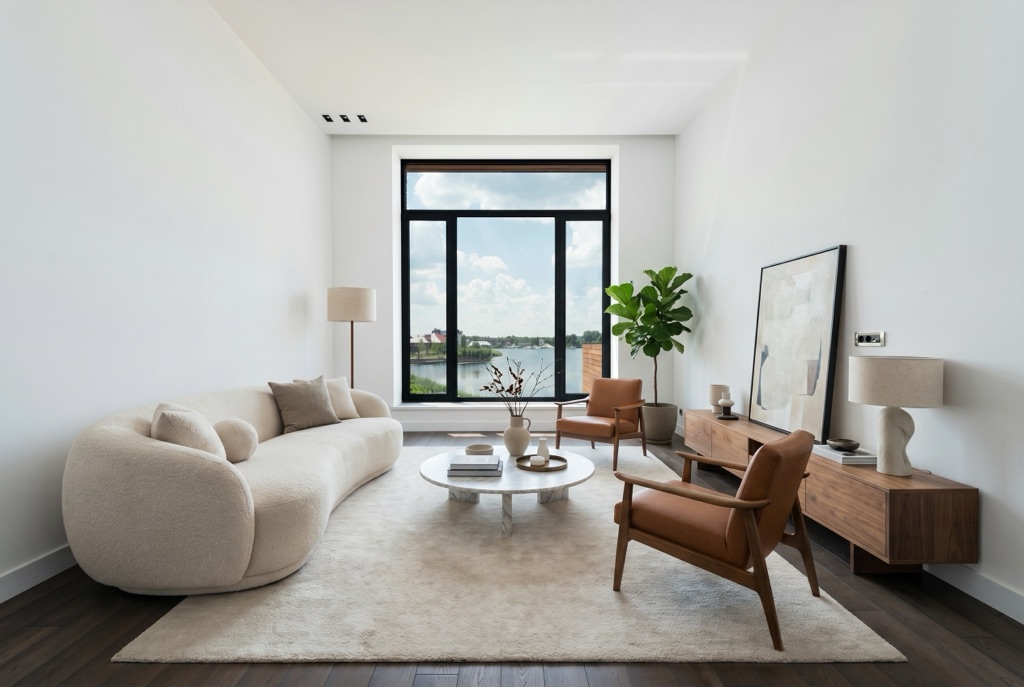
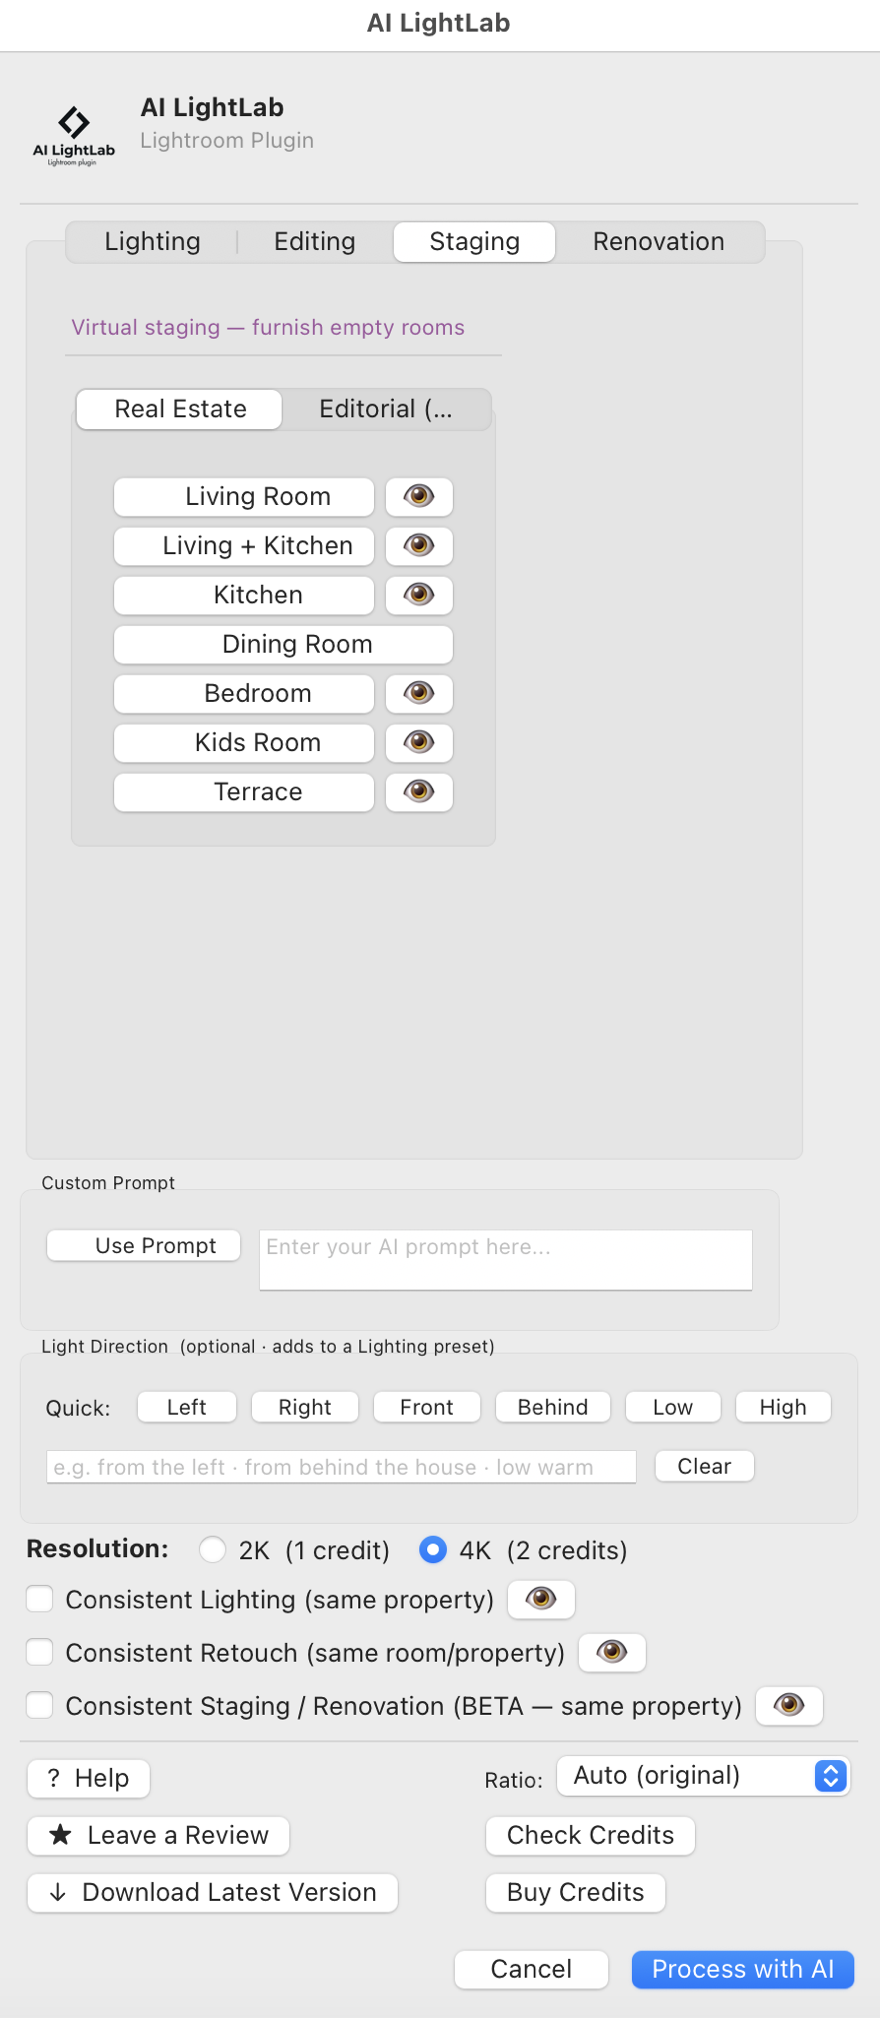
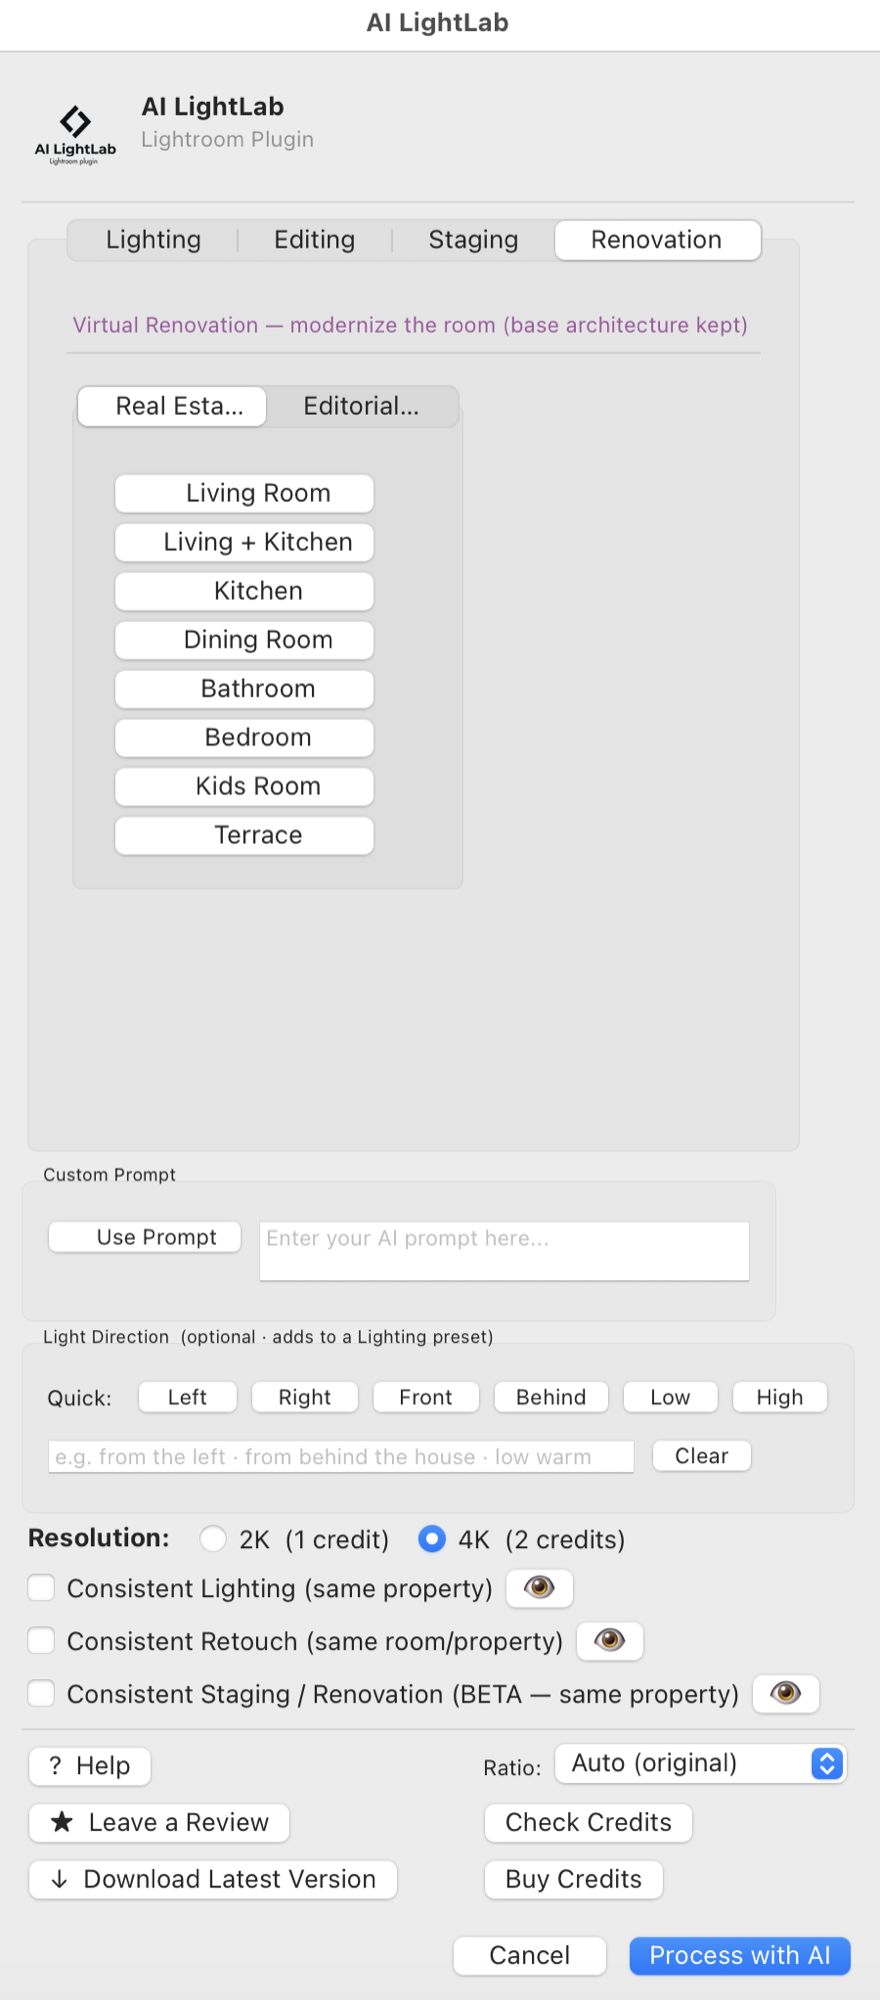
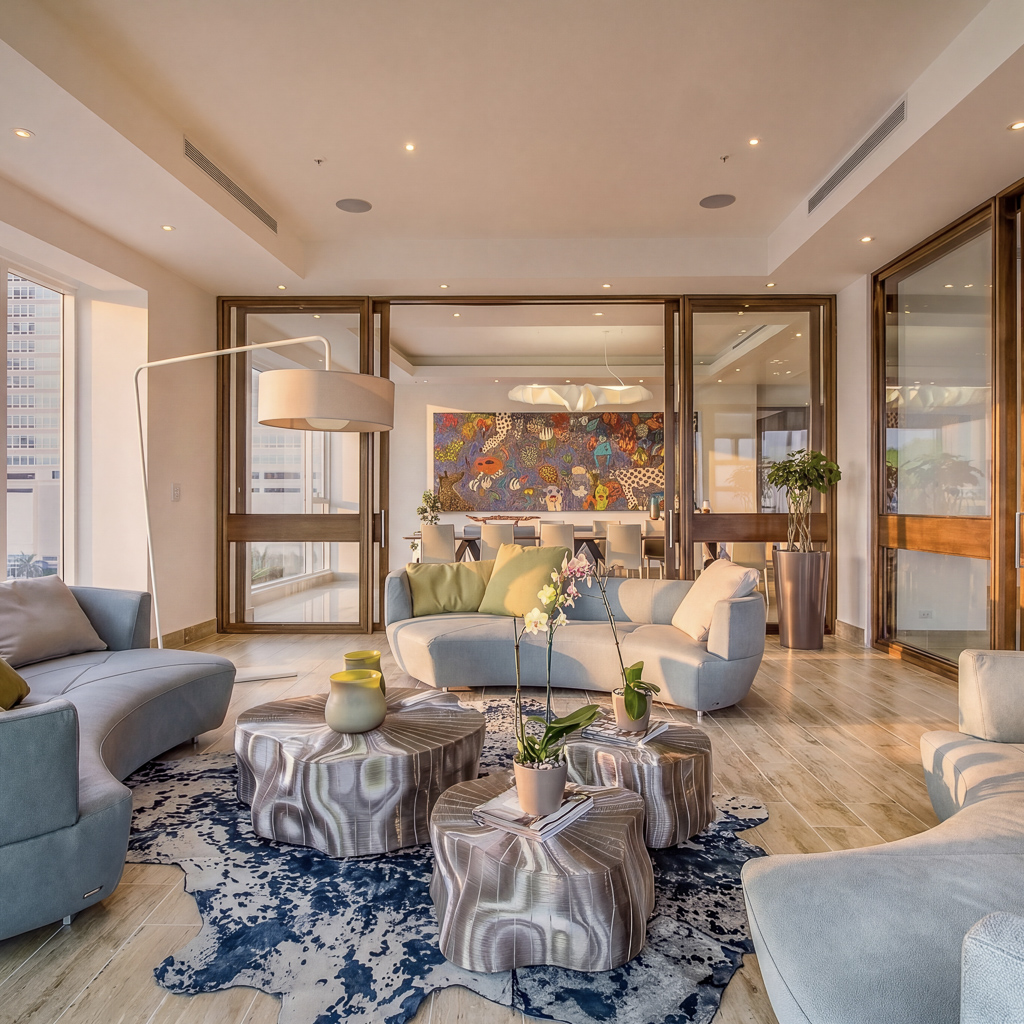
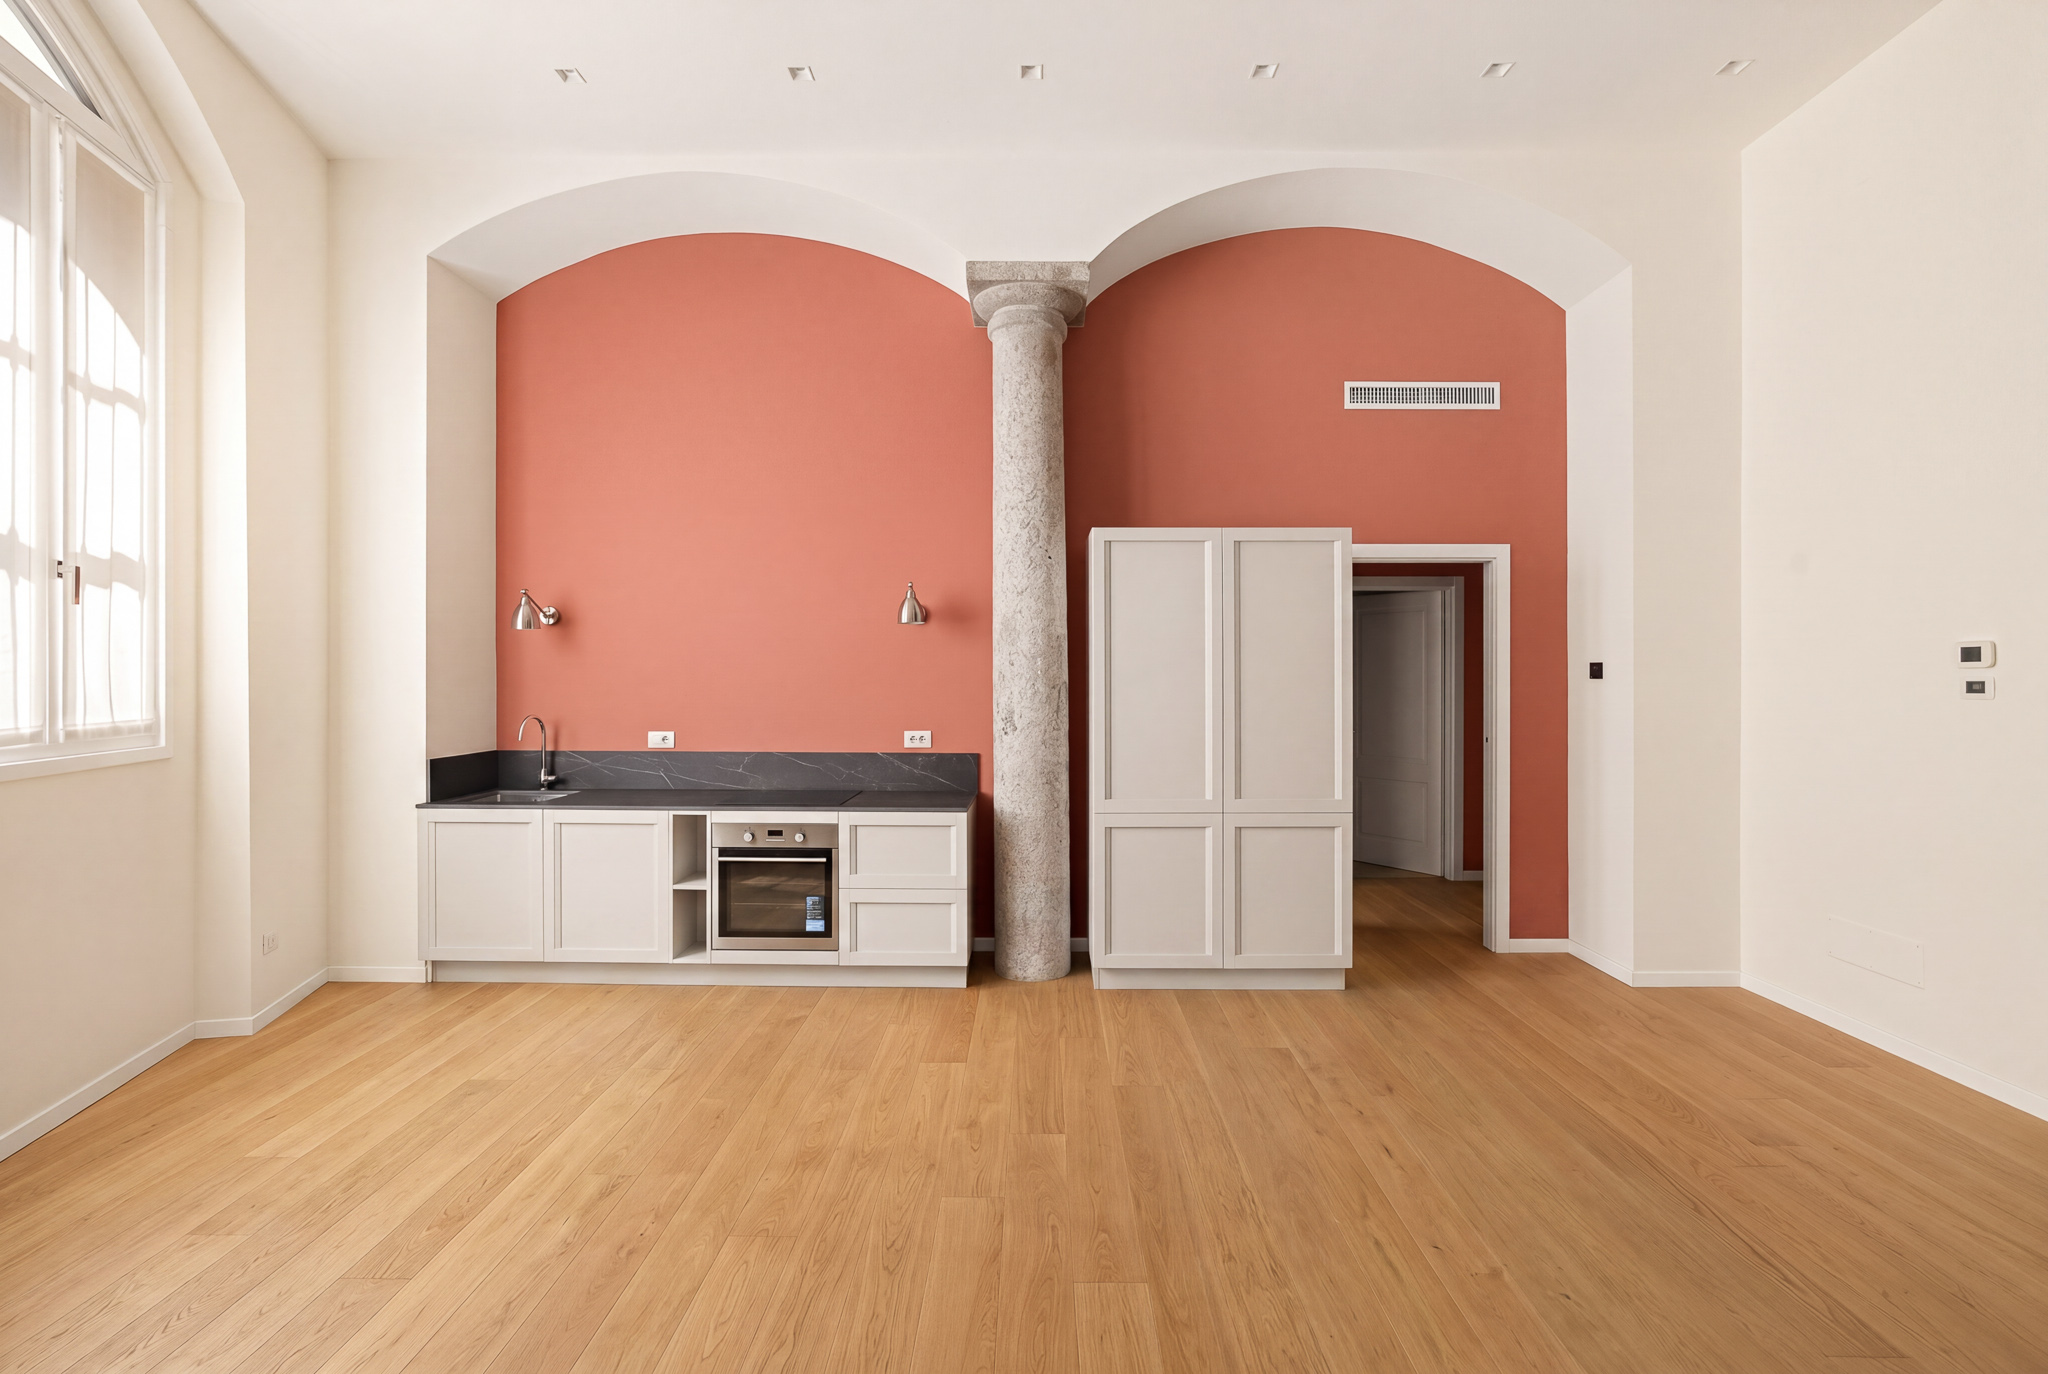
Furnish an empty room from scratch, or renovate a dated one — new finishes, fixtures and furniture. The AI adapts to each space, while walls, windows and your framing stay exactly as shot.